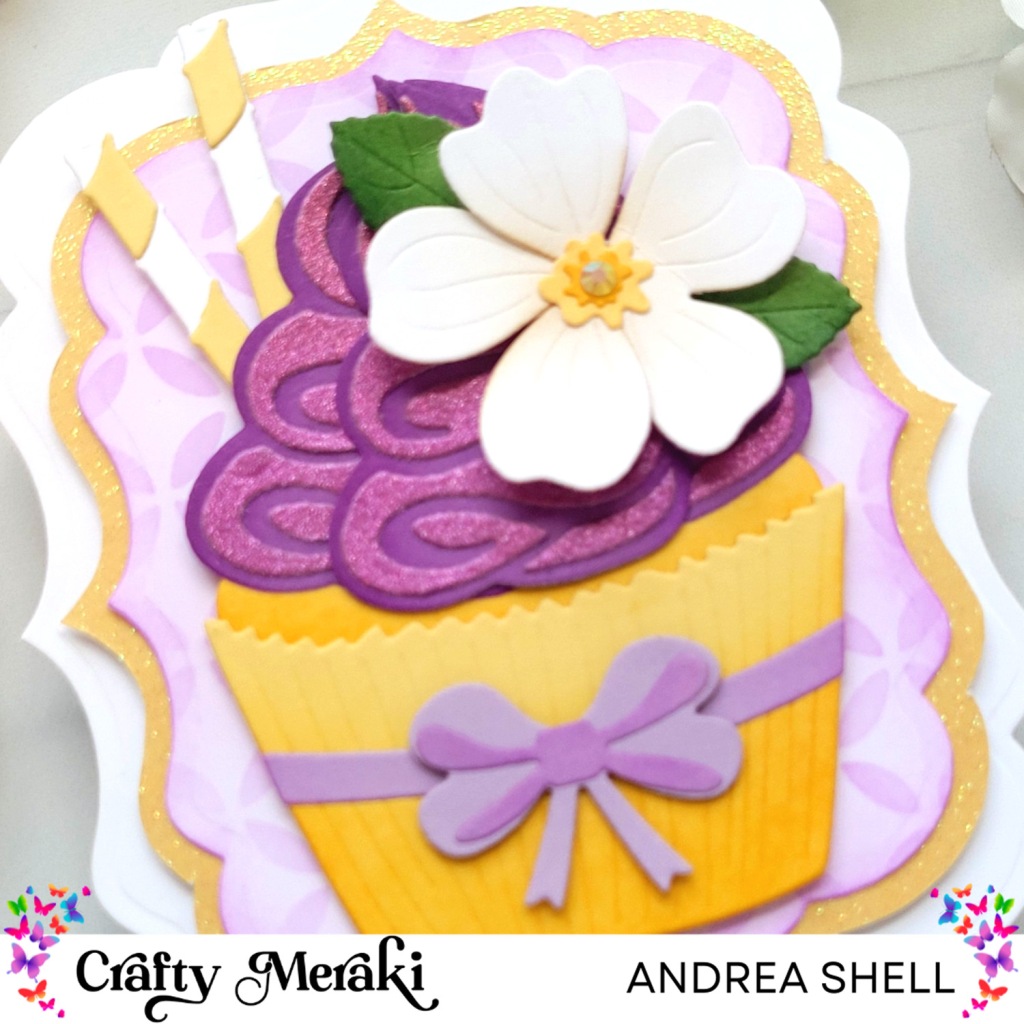
Hi, crafty friends! This week, the Crafty Meraki design team was tasked with either creating a shaped card or using shapes on their projects. I chose to create a shaped card to showcase the super-cute cupcake from the Sweet Celebrations Dies.

To create my shaped cardbase, I diecut two labels from white cardstock with the largest die from Spellbinders’ Labels 39 Dies. I scored one of the labels along one side at 1/4″, applied adhesive to the left of the score line, and attached it to the back of the other label.

I created that lovely cupcake with the Sweet Celebrations Dies. First, I diecut the frosting elements from purple cardstock and the Rainbow Ombre Glitter Paper. After gluing the glitter layers onto the solid diecuts, I blended the edges of each frosting piece with Catherine Pooler’s Pixie Dust ink. I diecut the oval and cupcake liner from yellow cardstock and blended those pieces with Catherine Pooler’s Catching Rays ink. Next, I diecut the straws and flower from white and yellow cardstocks and the leaves from green. I lightly blended the flower center with tan ink and added Rustic Wilderness distress ink to the leaves. Finally, I diecut the ribbon and bow pieces from lavender cardstock and added Pixie Dust ink for dimension.

For my background I first diecut a smaller label from white cardstock. I created a stencil by diecutting white paper with the Craft-A-Round A2 Background Die. I placed my stencil over the label and lightly blended with Pixie Dust ink. After removing the stencil, I went over the edges of the label with the same ink. To create a mat for the label, I traced the die onto glitter paper and fussy-cut it.

I adhered my stenciled label to the yellow mat with double-sided adhesive and affixed the mat to my card with foam tape. I assembled the cupcake with liquid adhesive and attached it to my card with foam squares. I popped up the flower and bow with foam squares and finished with a purple gem for the flower center. I toyed with adding a sentiment, but decided I didn’t want to detract from that lovely cupcake.
Thanks for stopping by!
*Affiliate links used at no cost to you.


Leave a comment