Hi, friends! I was over the moon when Spellbinders asked if I would like to create with their new Woodland Tales Collection, and I have two projects to share with you. This collection is gorgeous and perfect for your fall (and beyond!) crafting.
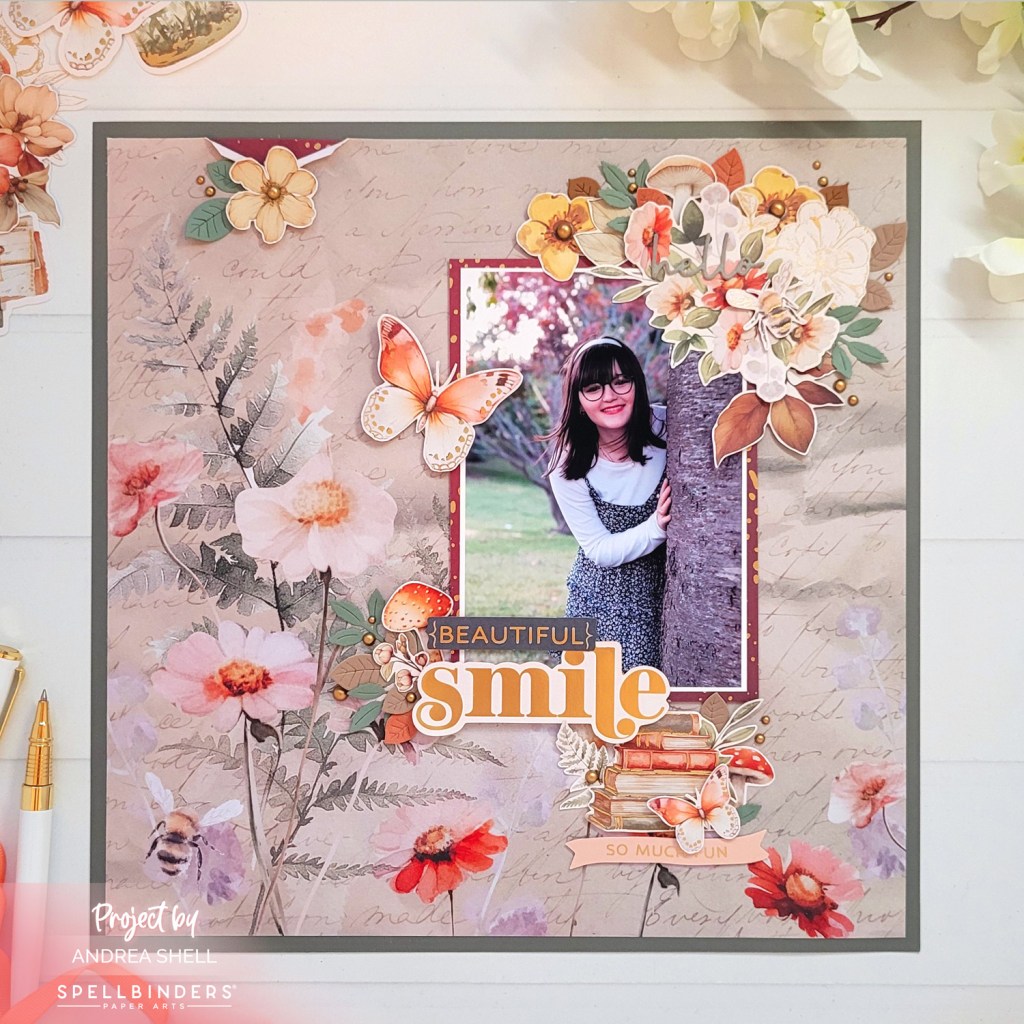
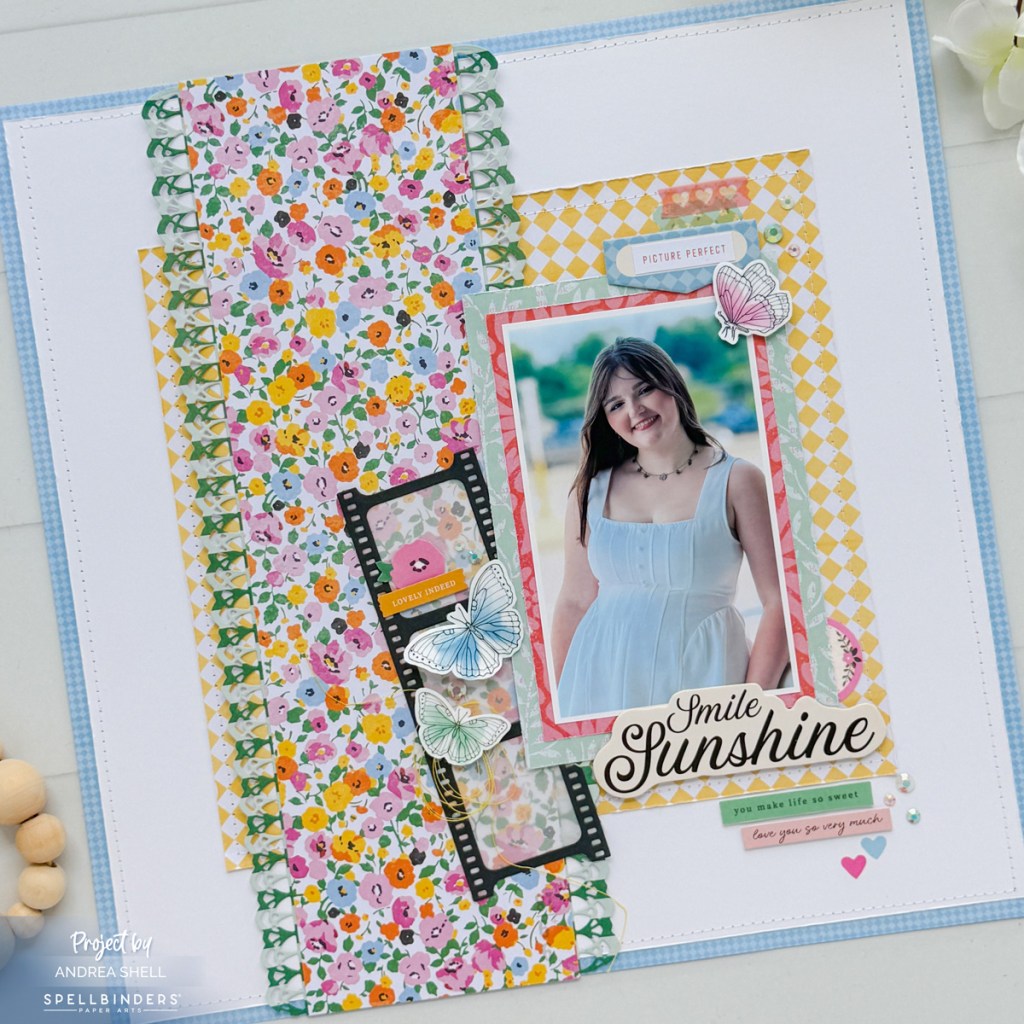
What excited me most about the Woodland Tales Collection is the gorgeous patterned papers and diecuts! They were perfect for scrapbooking this photo of my beautiful daughter.
Normally, I’m hesitant to use busy patterned papers, but this one from the Woodland Tales 12×12 pack has a large open space that was the perfect spot for my photo. I trimmed the paper slightly and matted it with gray cardstock. I also cut a slit in the top, turned the edges down and added a strip of the paper I used to mat my photo (also from the pack).
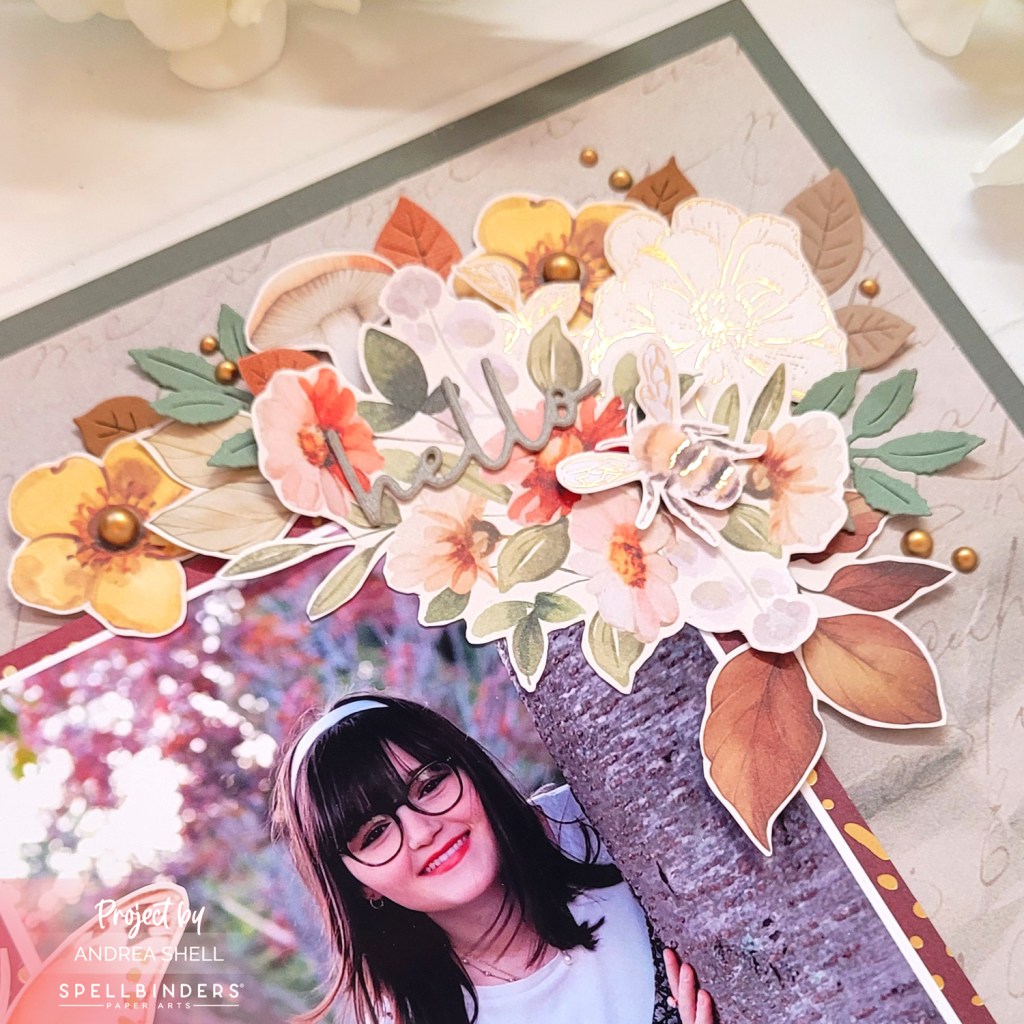
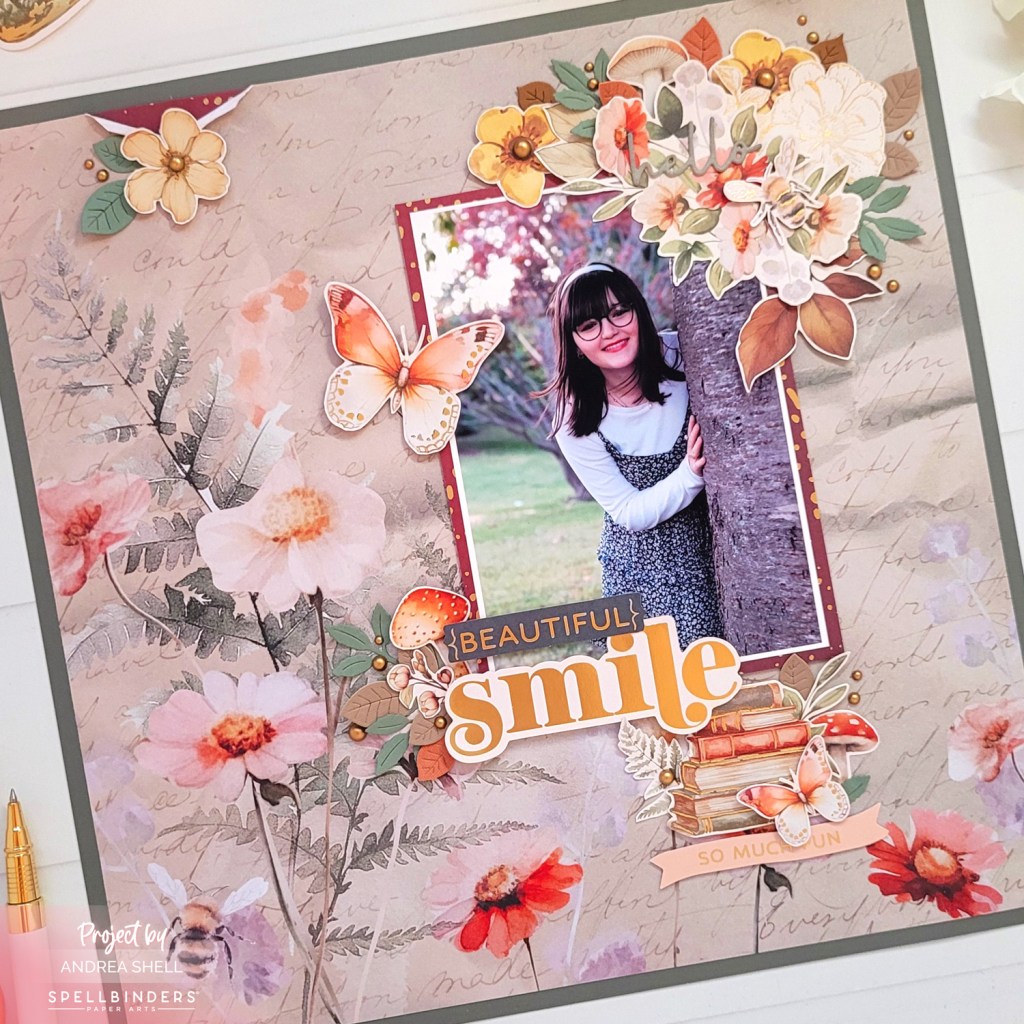
After adhering my photo with strips of thin foam tape, I created a floral cluster in the top corner to balance the florals in the bottom left corner of the paper. For the cluster I used the Woodland Tales Die Cut Shapes. Because I prefer a thinner border, I trimmed the diecuts with my scissors. I adherd the elements with a combination of liquid adhesive and varying heights of foam adhesive. I accented the cluster with leaves created with the Autumn Leaves Dies and matte gold pearls. “Hello” is from the Woodland Tales Sentiment Dies.
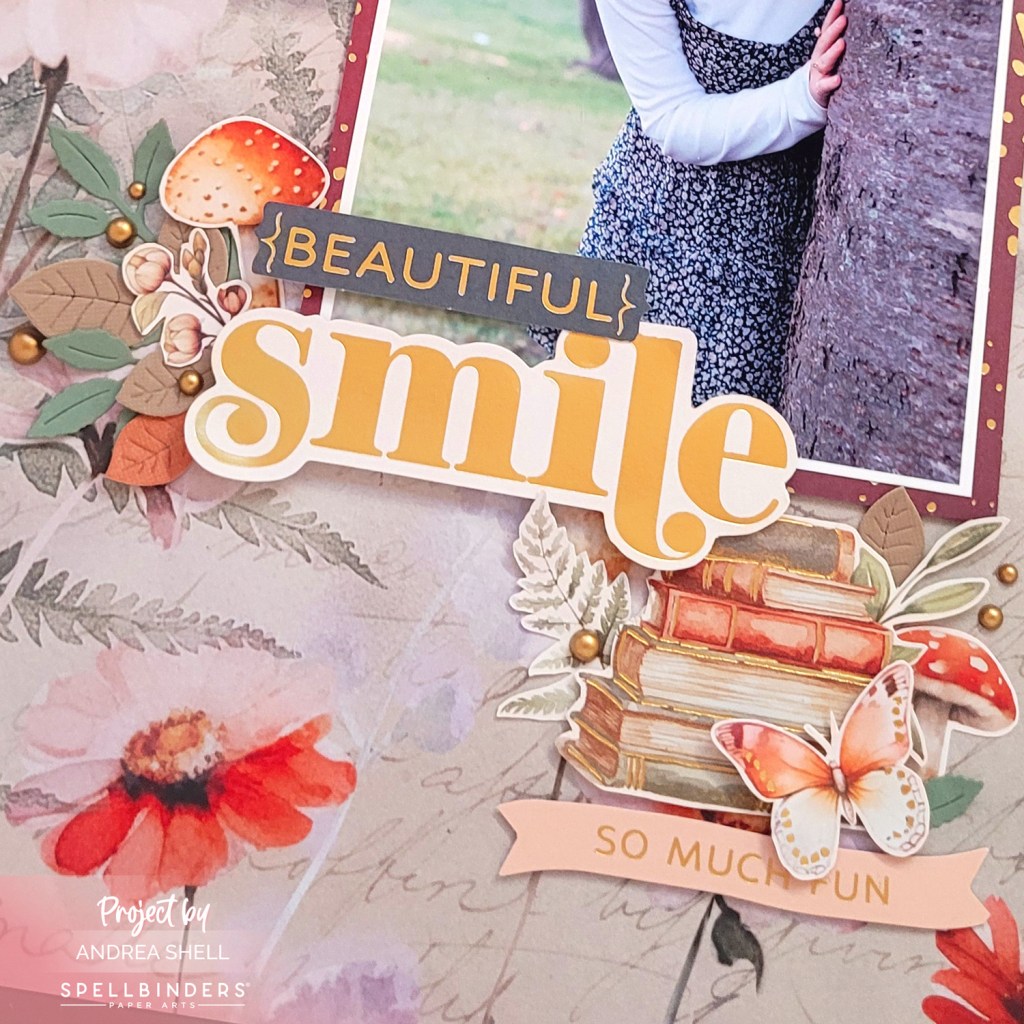
For my title I combined two diecuts from the Woodland Tales Die Cut Sentiments. After adhering them with foam, I added more diecuts from the Woodland Tales Die Cut Shapes and leaves created with the Autumn Leaves Dies, finishing with more gold pearls.
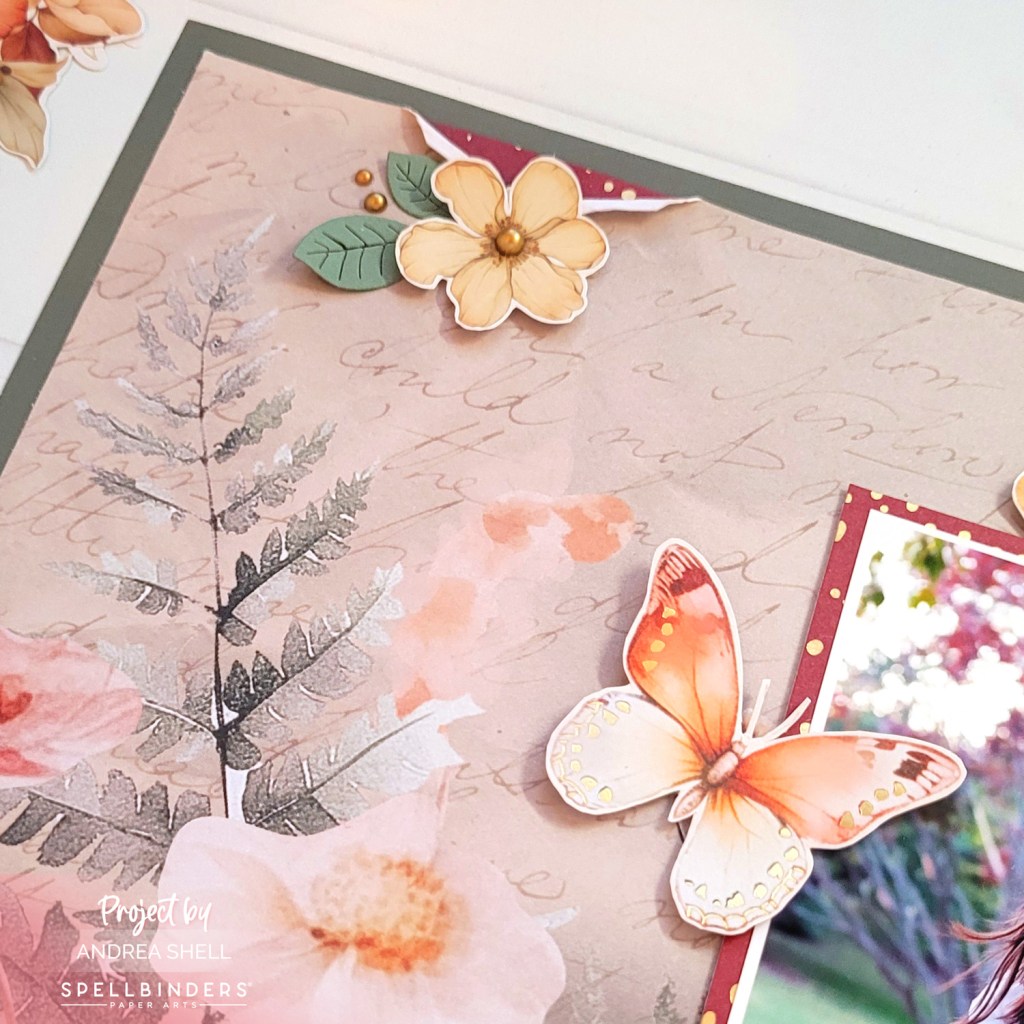
Next to my photo, I popped up one of the butterflies from the Woodland Tales Die Cut Shapes. Under the folded edge, I added a flower from the pack and a couple of leaves created with the Autumn Leaves Dies.
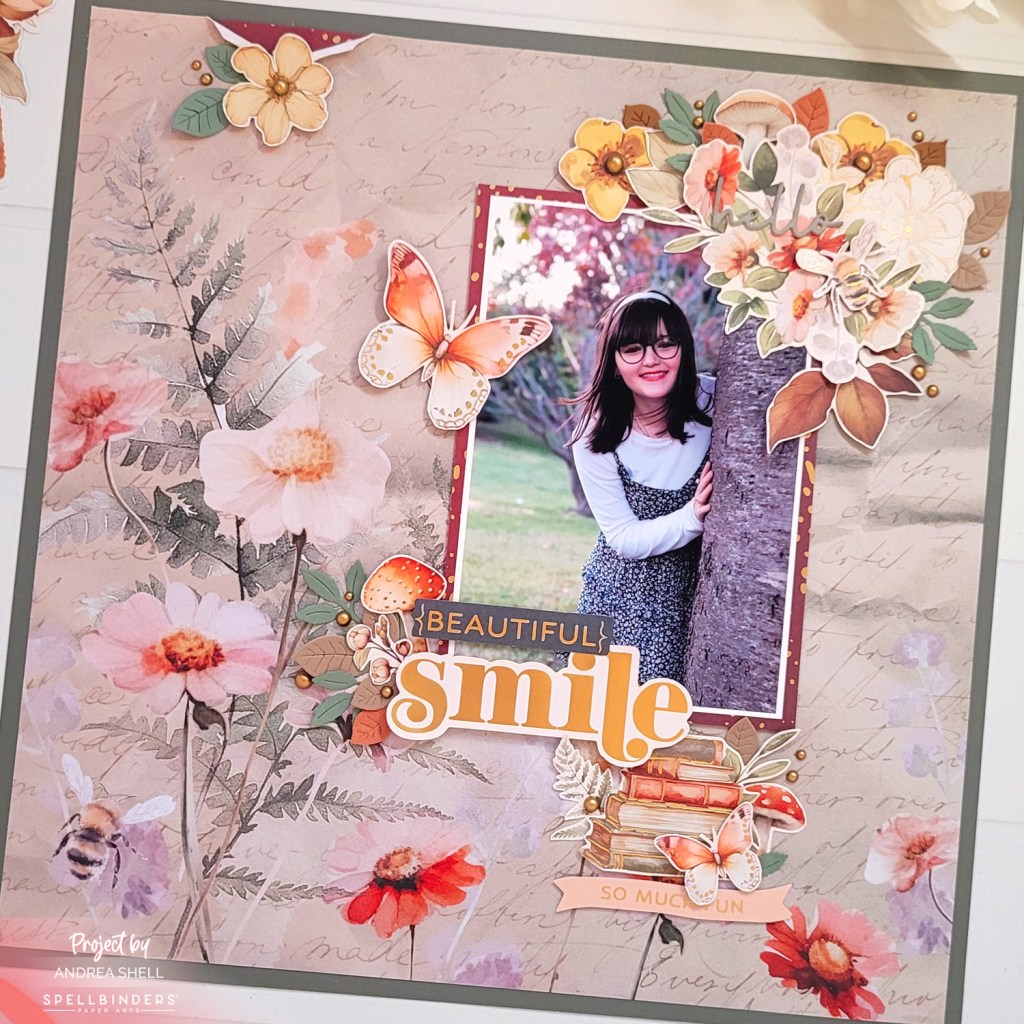
I really enjoyed creating with this gorgeous collection, and I love how this page turned out! The colors, icons and gold foiling are absolutely beautiful.
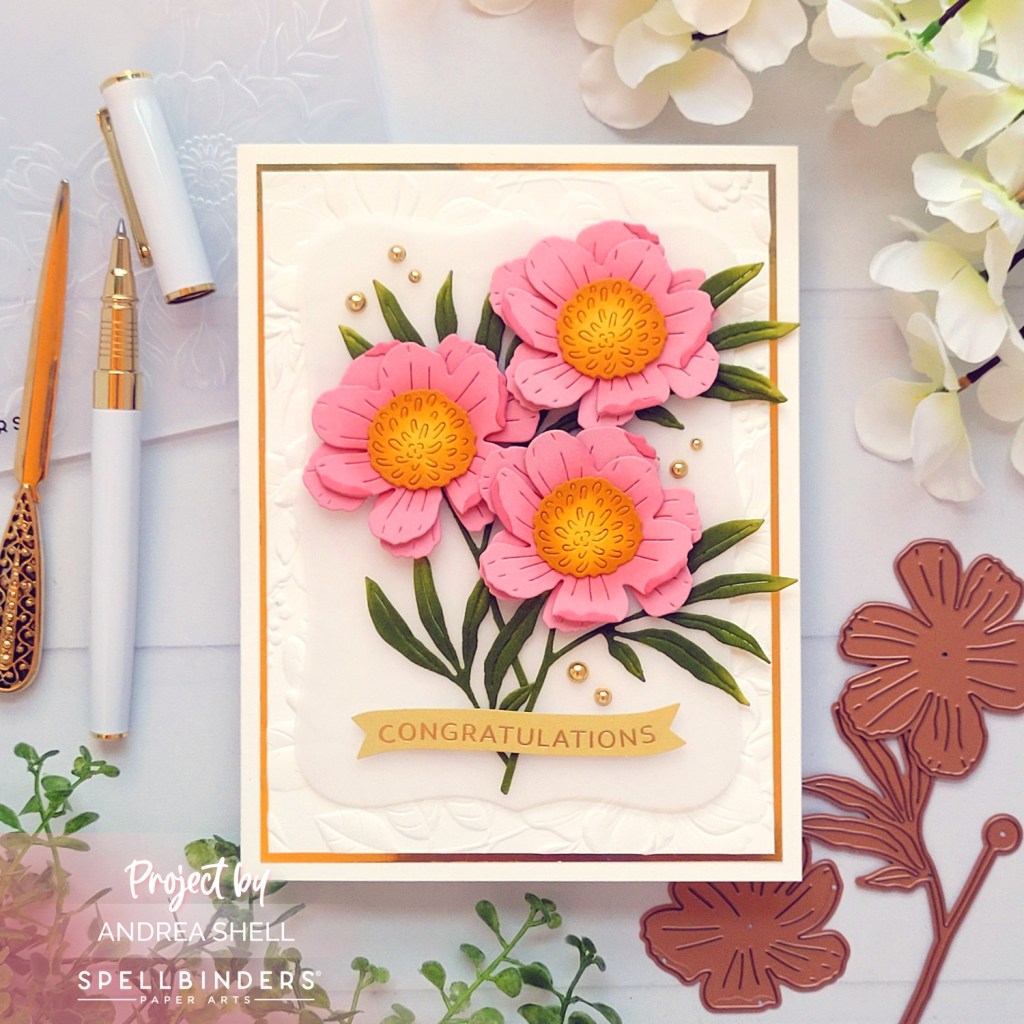
Next up, I have a card featuring the new Woodland Tales Floral Dies and Fresh Picked Floral Frame 3D Embossing Folder. That embossing folder is positively gorgeous, and I always love Spellbinders’ florals!
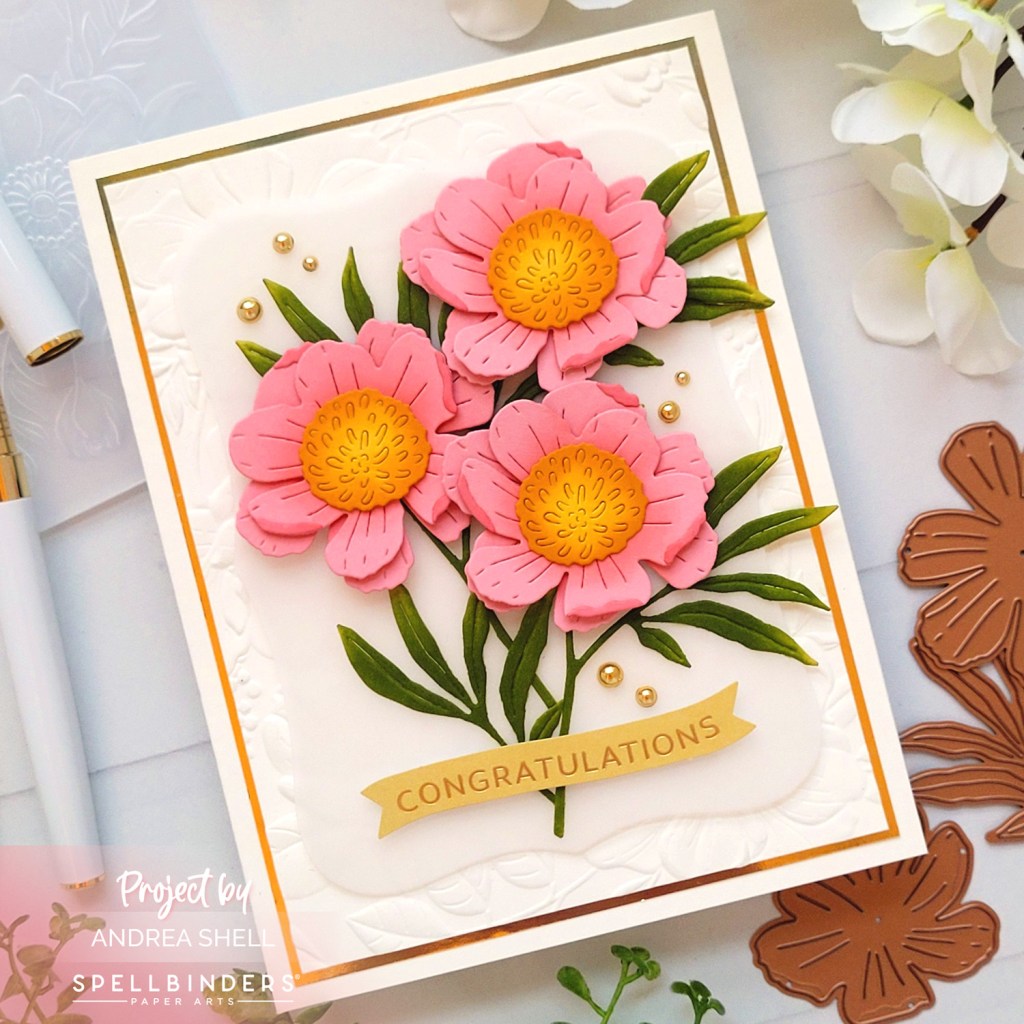
I started by diecutting the flowers from the Woodland Tales Floral Dies. I cut the blooms from two shades of pink cardstock and added coordinating ink for some dimension. I diecut the centers from yellow cardstock and blended the edges with orange ink. I assembled the blooms with thin 3D foam squares between each layer. After diecutting the stems from green cardstock, I blended them with green ink and attached a bloom with liquid adhesive.

Before embossing ivory cardstock with the Fresh Picked Floral Frame 3D folder, I lightly misted the back of the panel with water. This step prevents the paper cracking and helps create a clean, detailed impression. I trimmed the panel down (That was so hard to do because the embossing is so sublime!) and matted it with mirrored gold cardstock. I created a 5″ x 6 1/2″ cardbase from ivory cardstock and adhered my background on top.
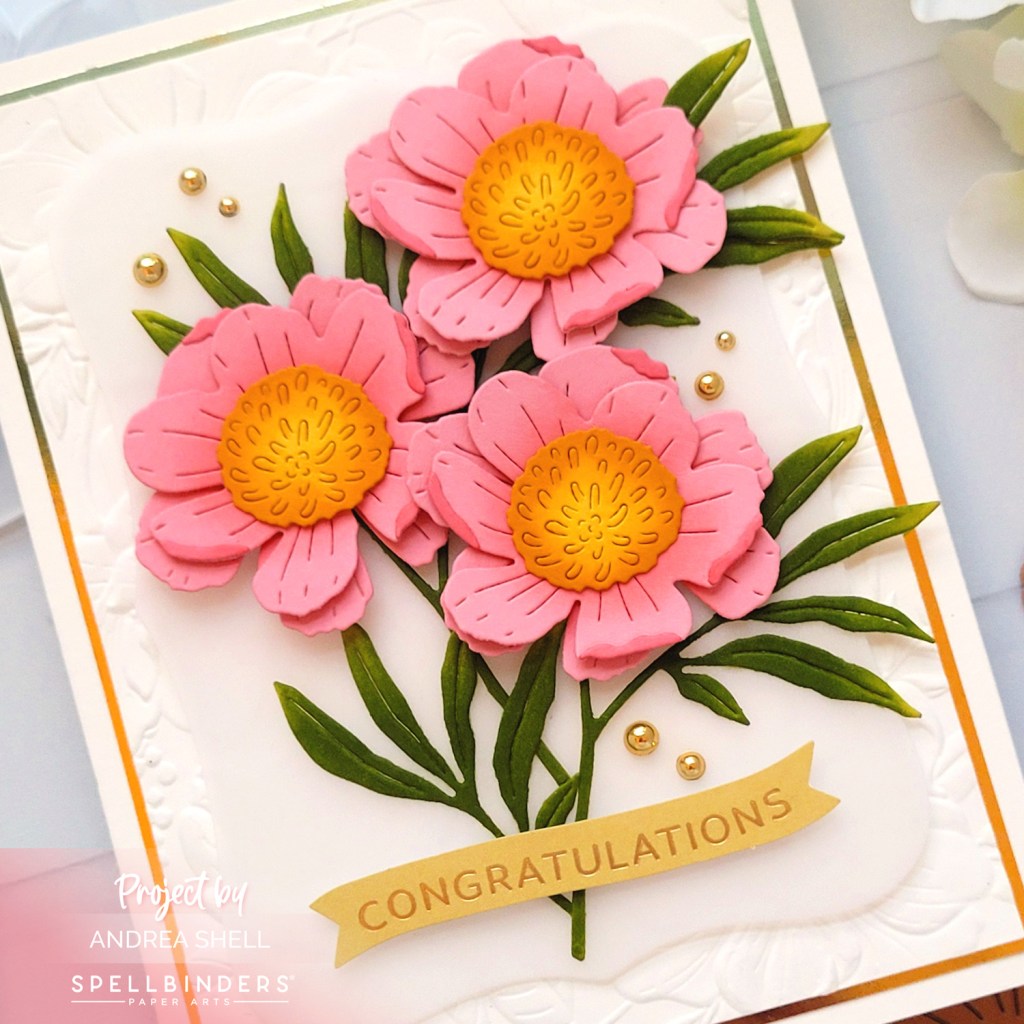
I diecut vellum with the Nestabilities Essential Labels Dies (retired) and arranged my flowers on top, attaching them with a combination of foam squares and liquid adhesive. I attached a sentiment from the Woodland Tales Die Cut Sentiments with foam tape. Hiding the adhesive behind the flowers and sentiment, I adhered the vellum piece to my card with foam. I finished with a scattering of gold metallic pearls.
Thanks for stopping by!
*Affiliate links used at no cost to you.


Leave a comment