Hello, again! Today I’m sharing a trio of floral cards featuring Spellbinders’ gorgeous Vivid Expressions collection.
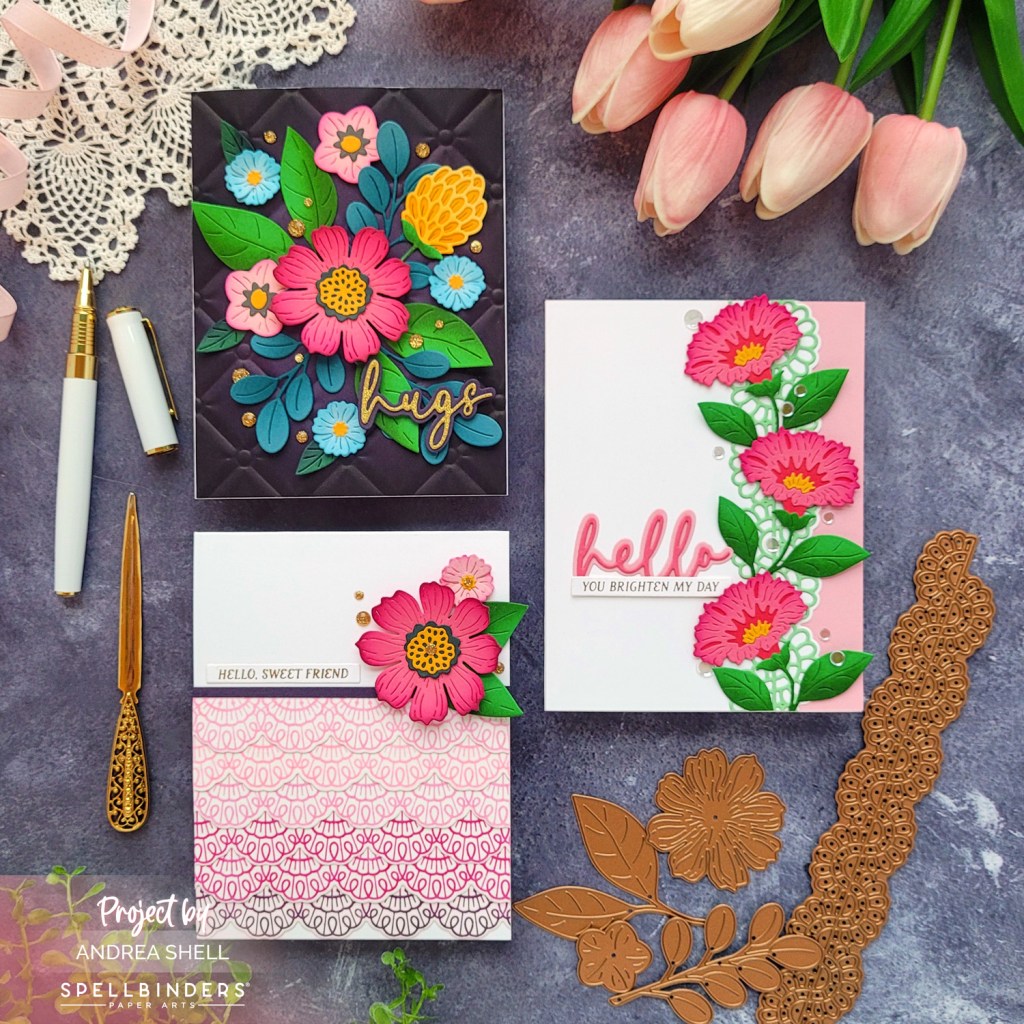
I’m a sucker for floral dies, and Spellbinders has some of the best! For these projects I used a bunch of products from their new Vivid Expressions collection, most notably the beautiful Vivid Blooms Dies.

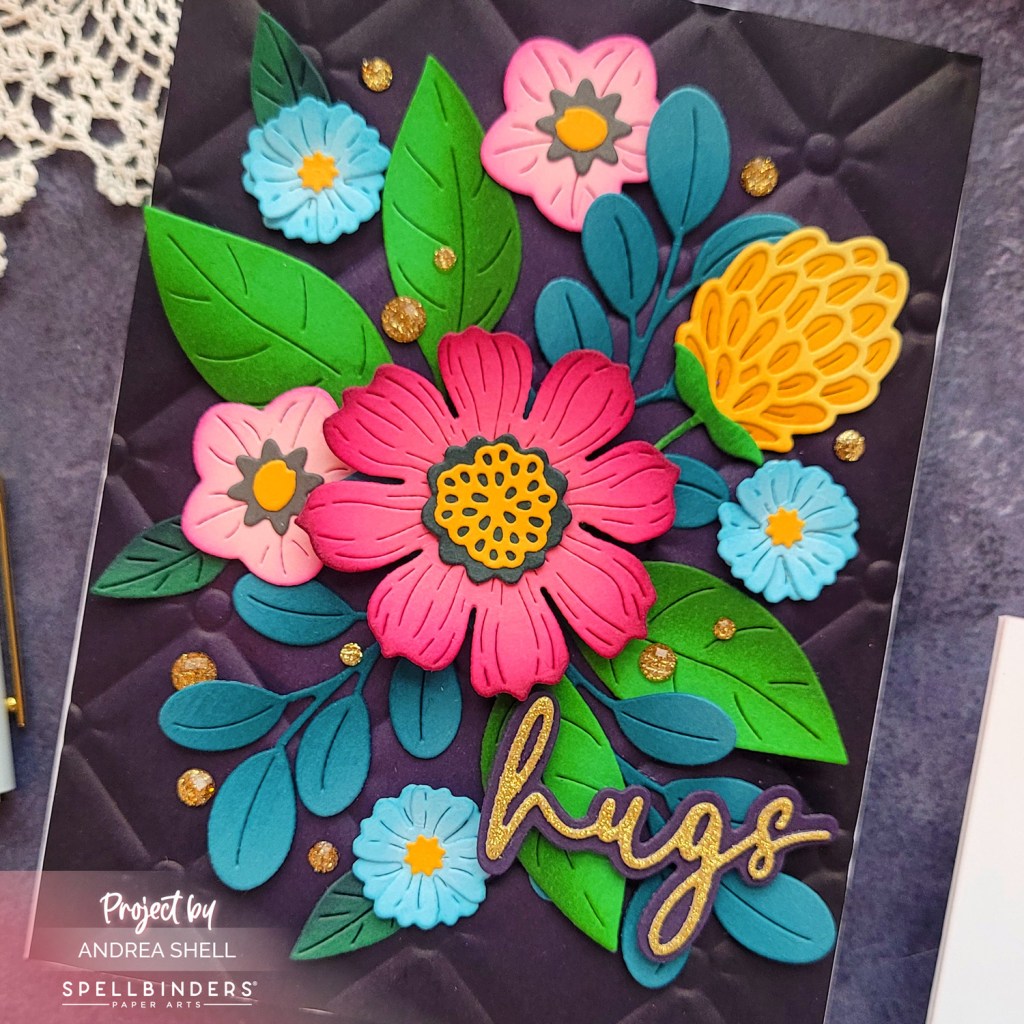
For my first card, I couldn’t resist creating a bouquet with the Vivid Blooms Dies. I diecut the blooms and foliage from colored cardstock and added ink in coordinating colors to create some dimension.
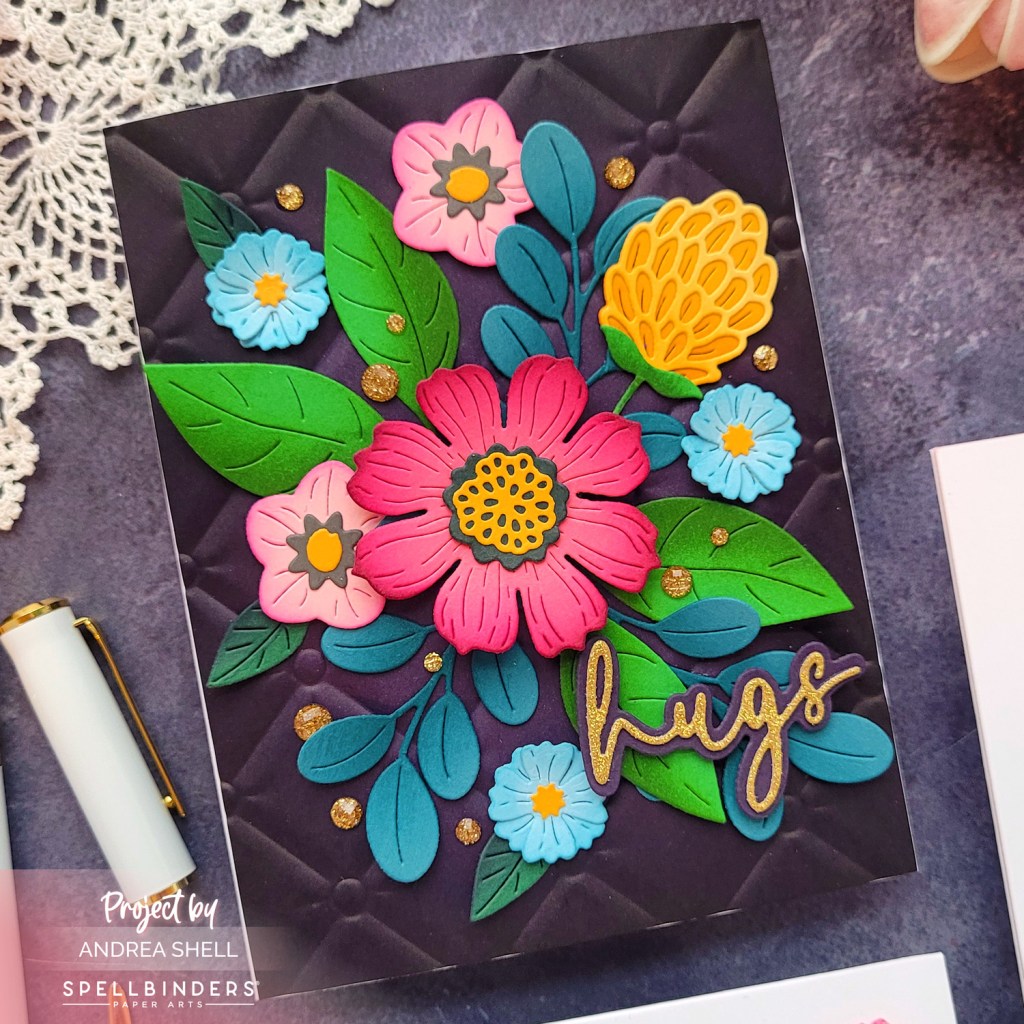
To keep the focus on those beautiful blooms, I left the background on the simpler side. I embossed a panel of amethyst cardstock with the Tufted 3D Embossing Folder. I blended the edges with navy and black inks (although it’s difficult to tell in the final product) beforing adhering the panel to a card. I arranged my bouquet on top, attaching the diecuts with a combination of foam and liquid adhesives.
My sentiment is from the Vivid Script Sentiments Dies. I diecut the shadow from the amethyst cardstock used for the background and the word from gold glitter paper. After stacking the diecuts, I adhered the sentiment to my card with foam. I finished with a scattering of gold glitter pearls.
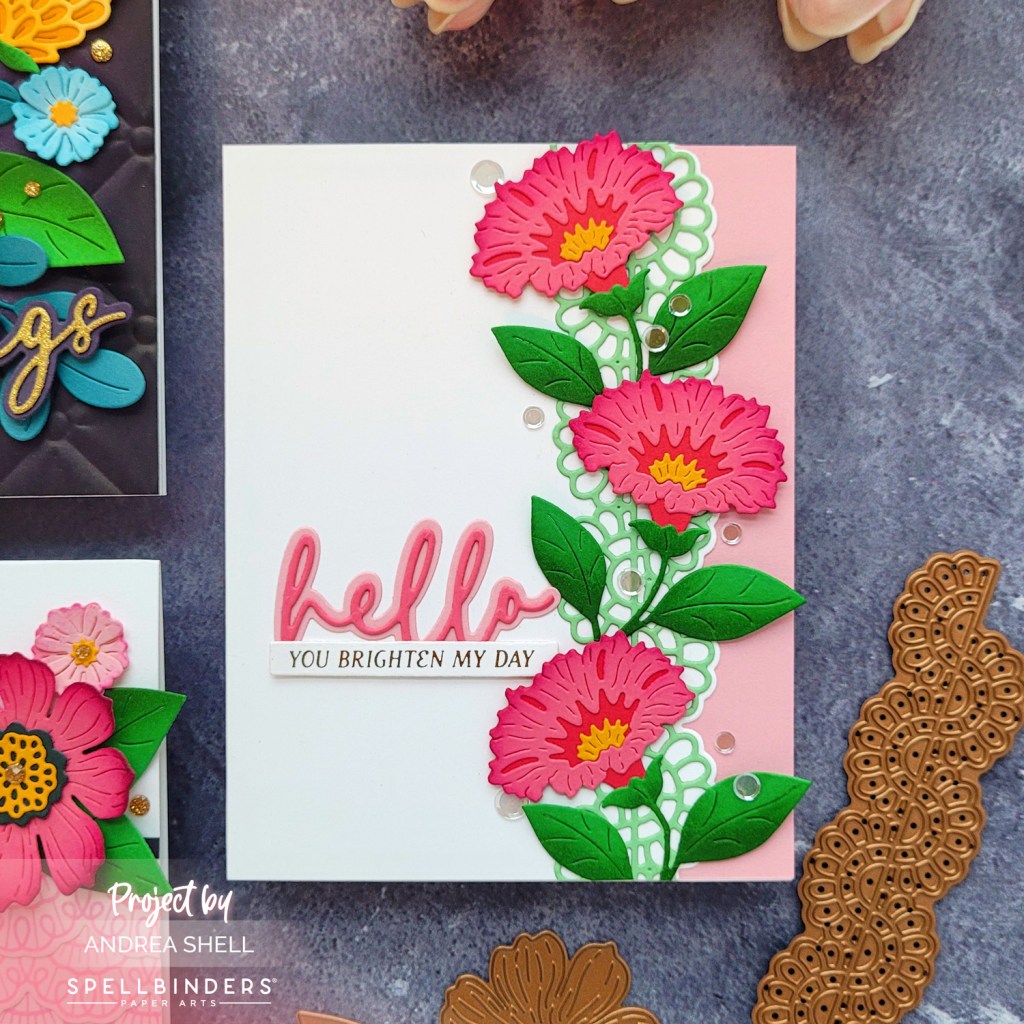
In addition to the Vivid Blooms Dies, my second project features the Eyelet Scallop Border Dies. I focused on a single bloom from the Vivid Blooms Dies, diecutting the elements from colored cardstocks and adding ink to create dimension.

Using the Eyelet Scallop Border Dies, I diecut a panel of white cardstock with the outline die. I adhered the panel to an A2 panel of pink cardstock, which I glued to a card. I diecut light green cardstock with the detail die, glued the border to my card, and trimmed the excess.
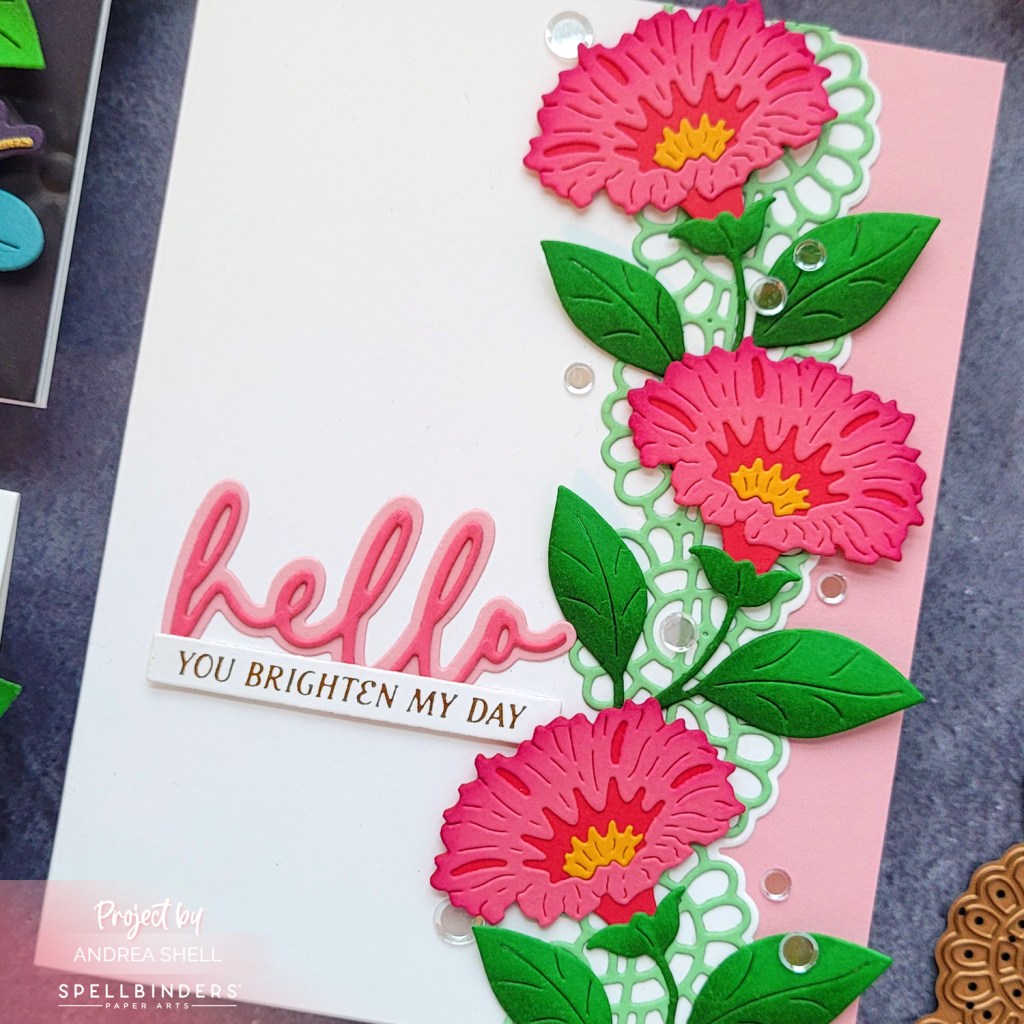
I arranged my floral diecuts onto my card, securing them with foam behind the blooms and liquid adhesive behind the stems. My main sentiment is from the Vivid Script Sentiments Dies. For my supporting sentiment, I used the Ideal Moments Press Plate and Die Set. I hotfoiled the sentiment with Gold Glimmer Foil, diecut it, and popped it up with foam. For a little sparkle, I finished the card with some clear confetti.
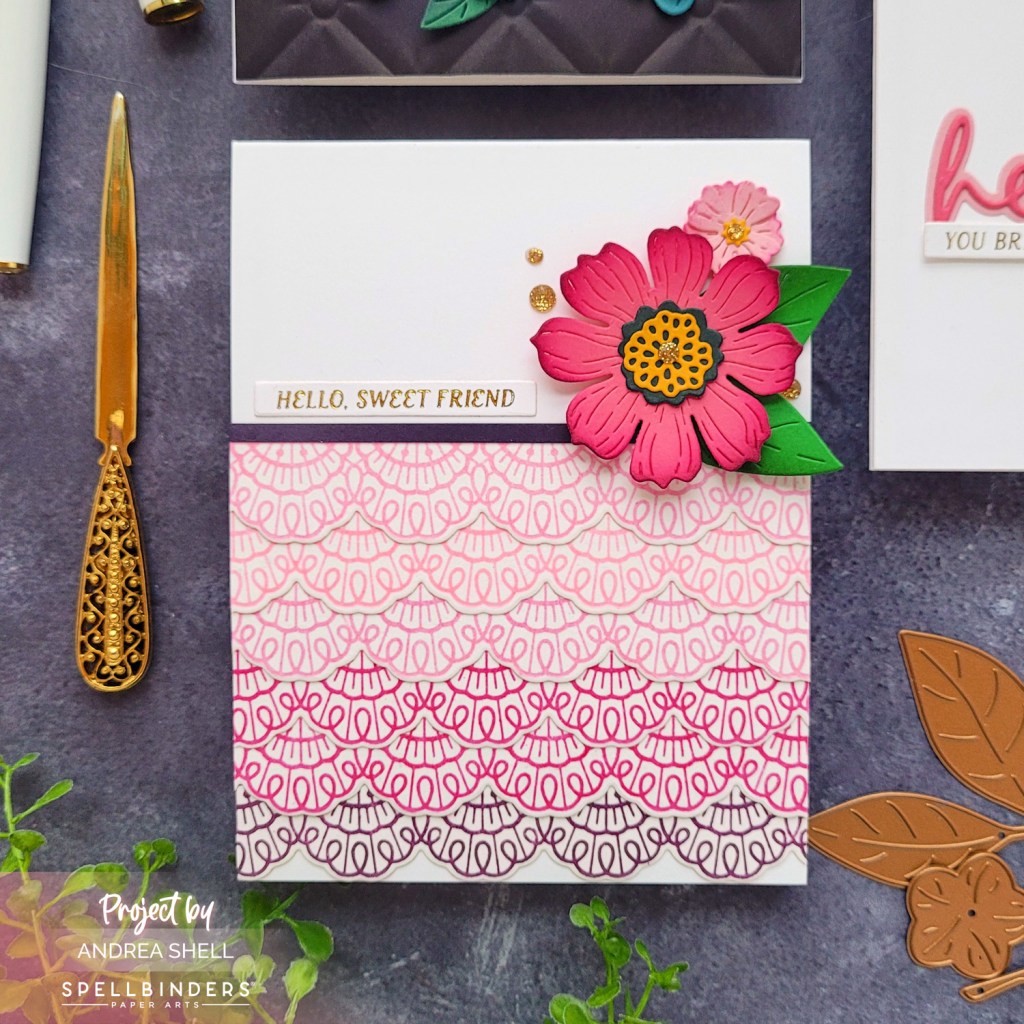
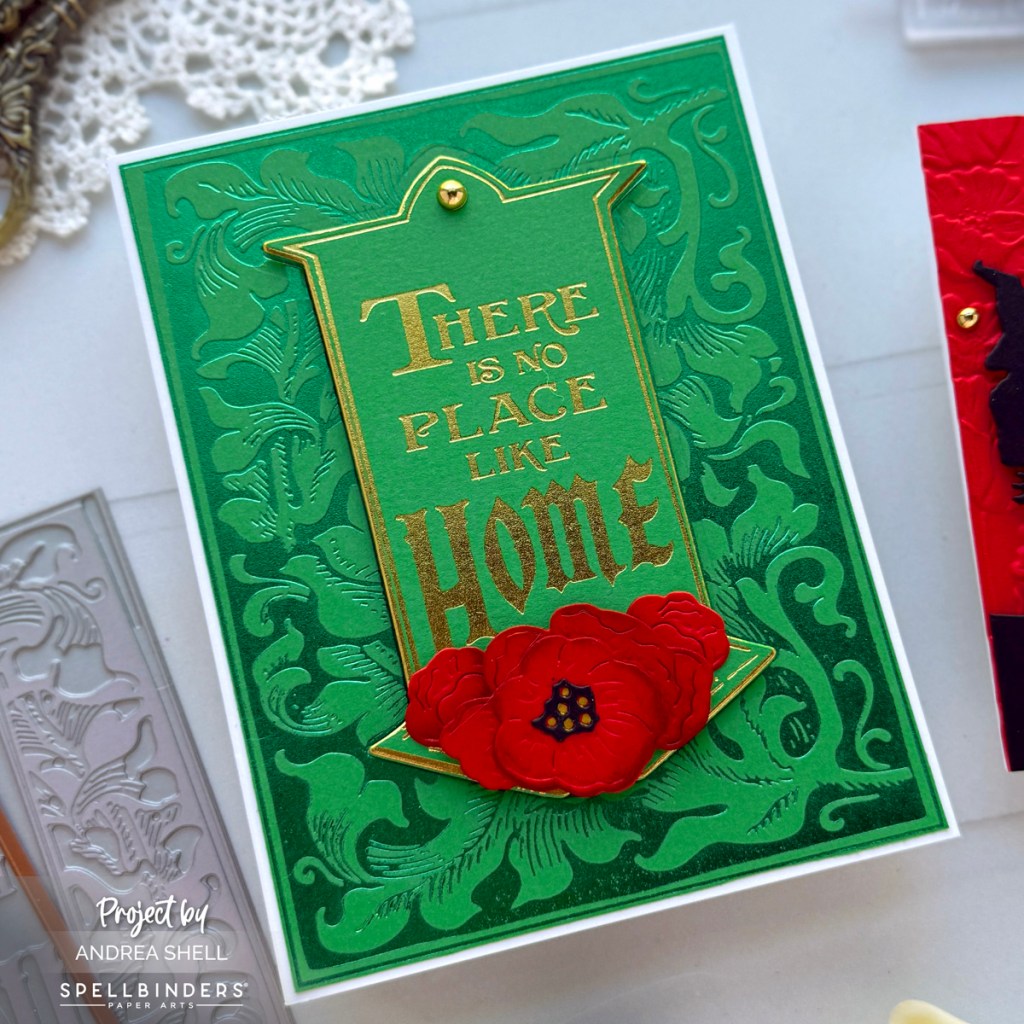
For my final project, I focused on the Pressed Lace Borders Press Plate and Die set. Using my BetterPress system, I stamped the scalloped border in several shades of ink for an ombre effect. I trimmed apart the borders with my paper trimmer and diecut the scalloped edge with the coordinating die.
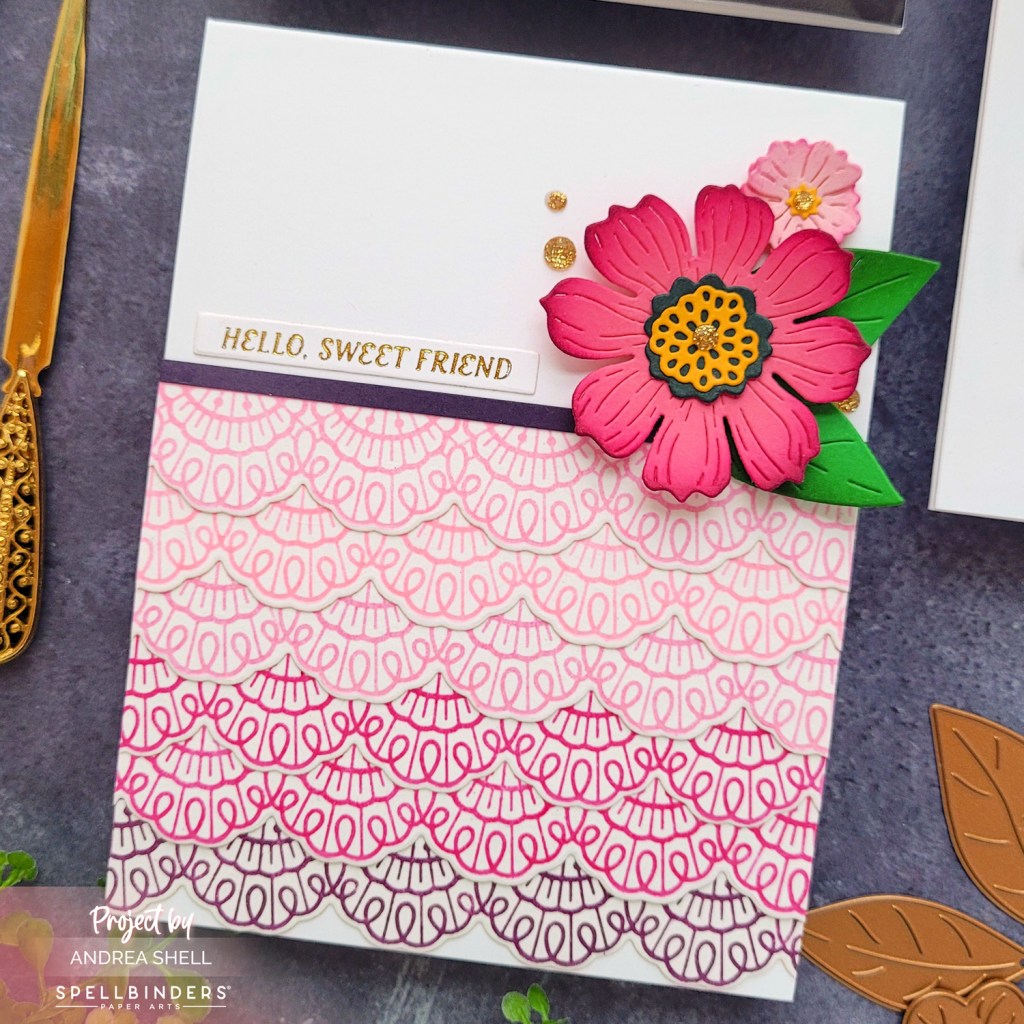
Starting with the bottom border, I stacked the diecuts onto a top-folding cardbase, overlapping and shifting the borders as I added them. To the top diecut, I added a strip of amethyst cardstock and trimmed away the excess from the borders.
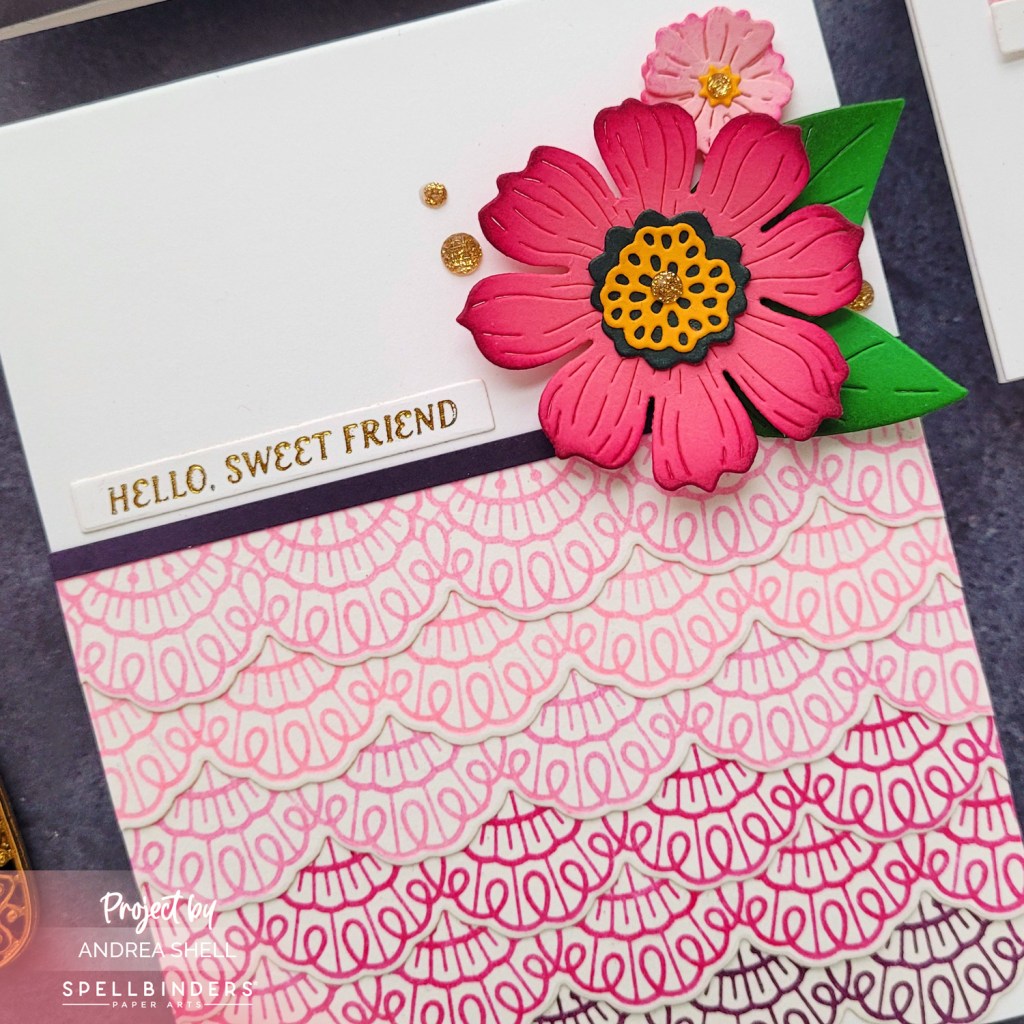
To finish my card, I added some blooms and leaves created with the Vivid Blooms Dies. My sentiment is from the Ideal Moments Press Plate and Die set. The plates create multiple sentiments with one pass, so I had extra from my previous card. I glued my sentiment and finished with some gold glitter dots.
Thanks for stopping by!
*Affiliate links used at no cost to you.


Leave a comment