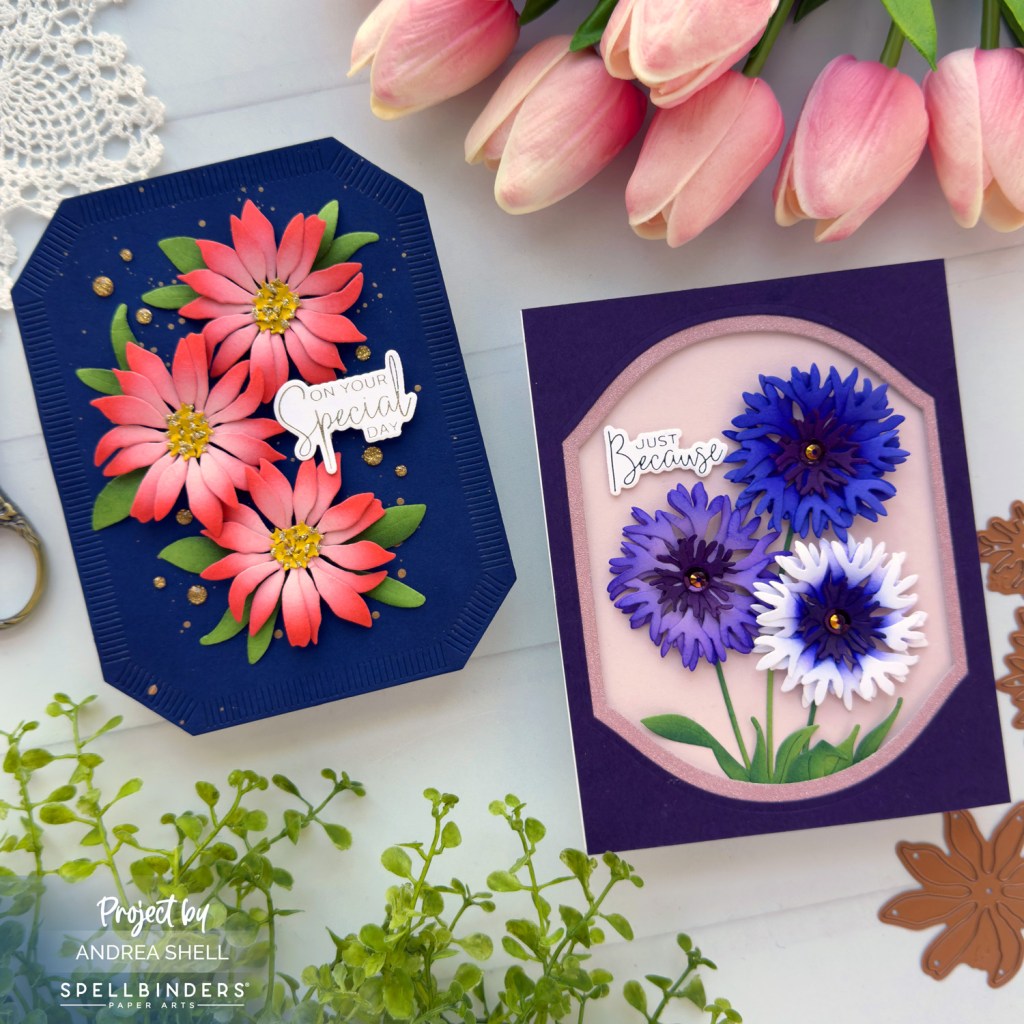
Hi, there! Today I’m sharing a pair of cards created with Spellbinders’ Through the Meadow Collection. These dies create the most beautiful, realistic-looking flowers!
My projects feature the Lavender Mountain Daisy Dies (left) and Bachelor Button Dies (right). There are instruction videos on Spellbinders’ website and YouTube channel on assembling the blooms. I love that the dies tell you how many pieces to diecut for each bloom, although you obviously can use artistic license to come up with alternative designs.
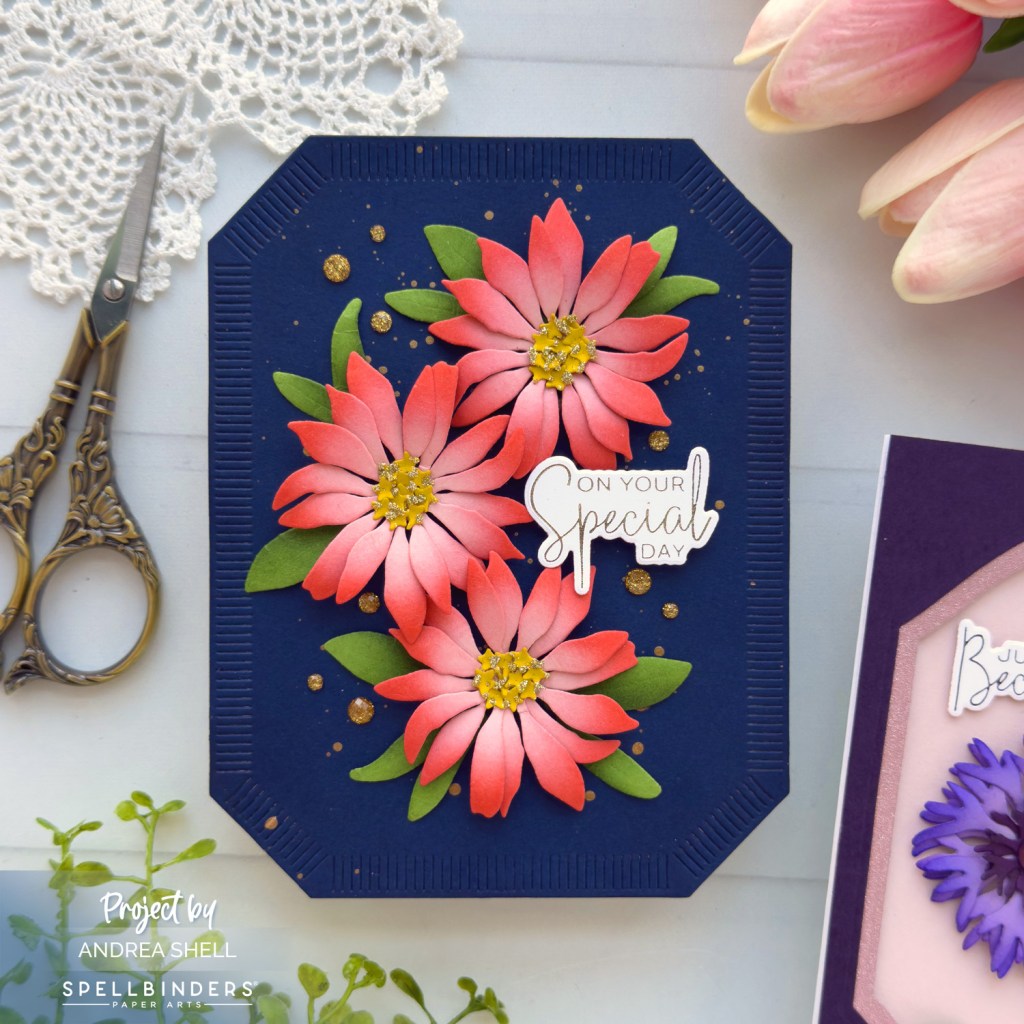
For my first card, I used the Lavender Mountain Daisy Dies. I diecut the petals from blush cardstock and inked the edges with salmon ink. I cut the leaves from green cardstock and added a darker green ink. Finally, I diecut the flower centers from yellow cardstock.
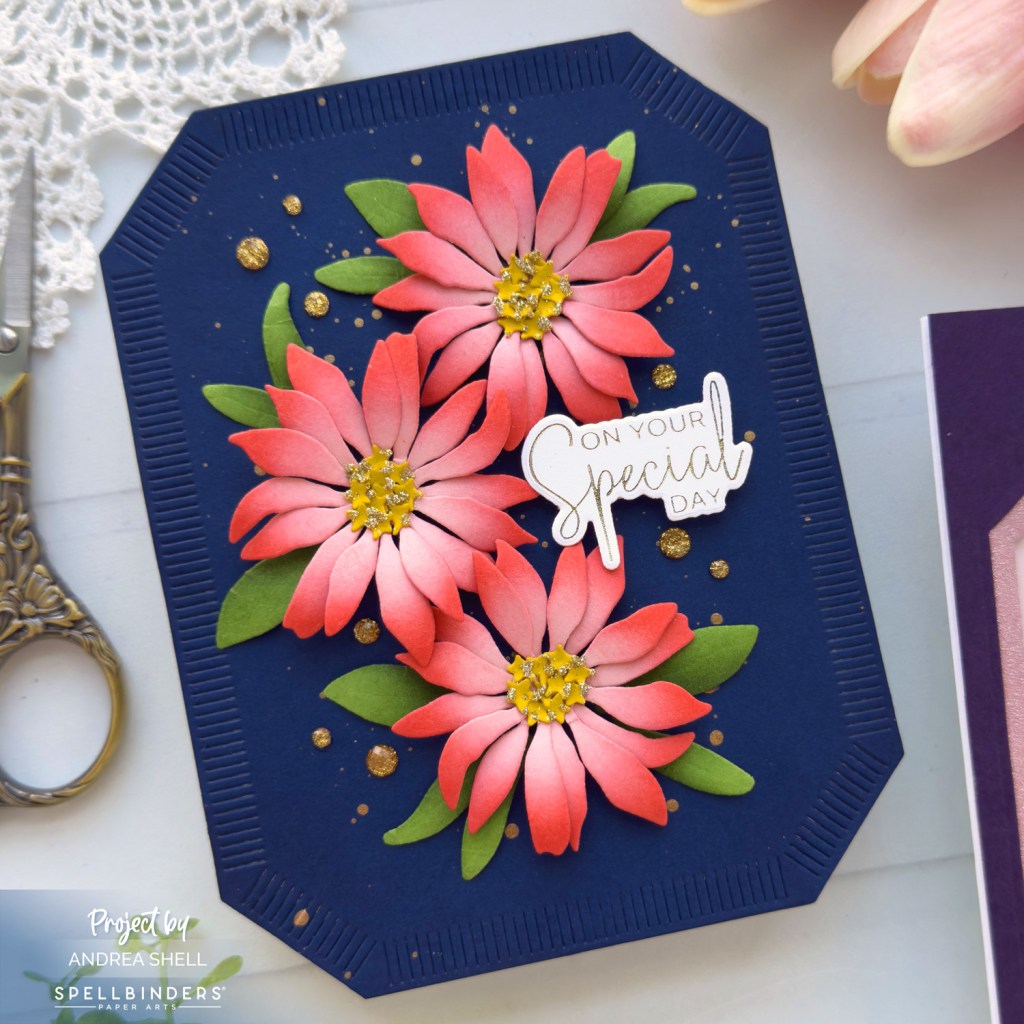
I used a ball stylus and foam pad to shape the diecuts and create some dimension. I layered the petals, offsetting them slightly, and glued the flower centers. I added random dots of glue to the centers and sprinkled on some glitter.
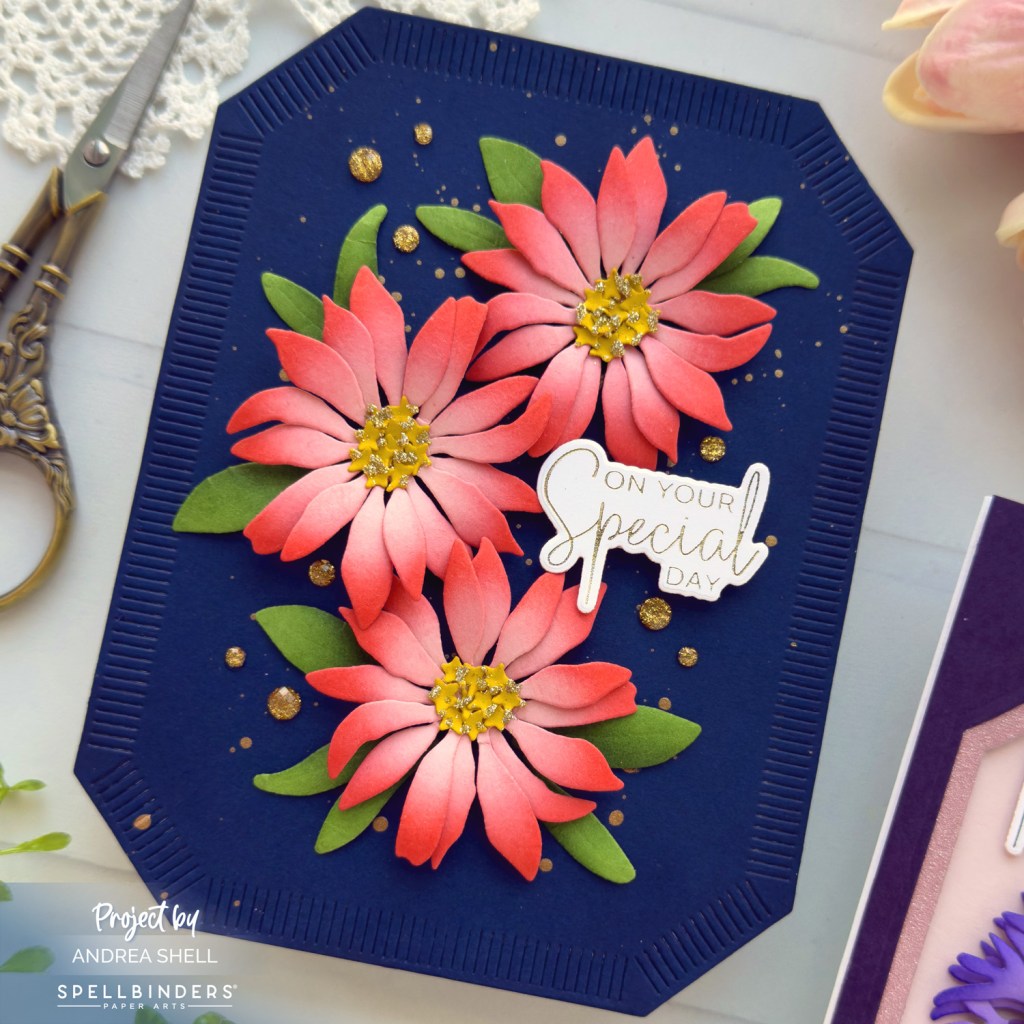
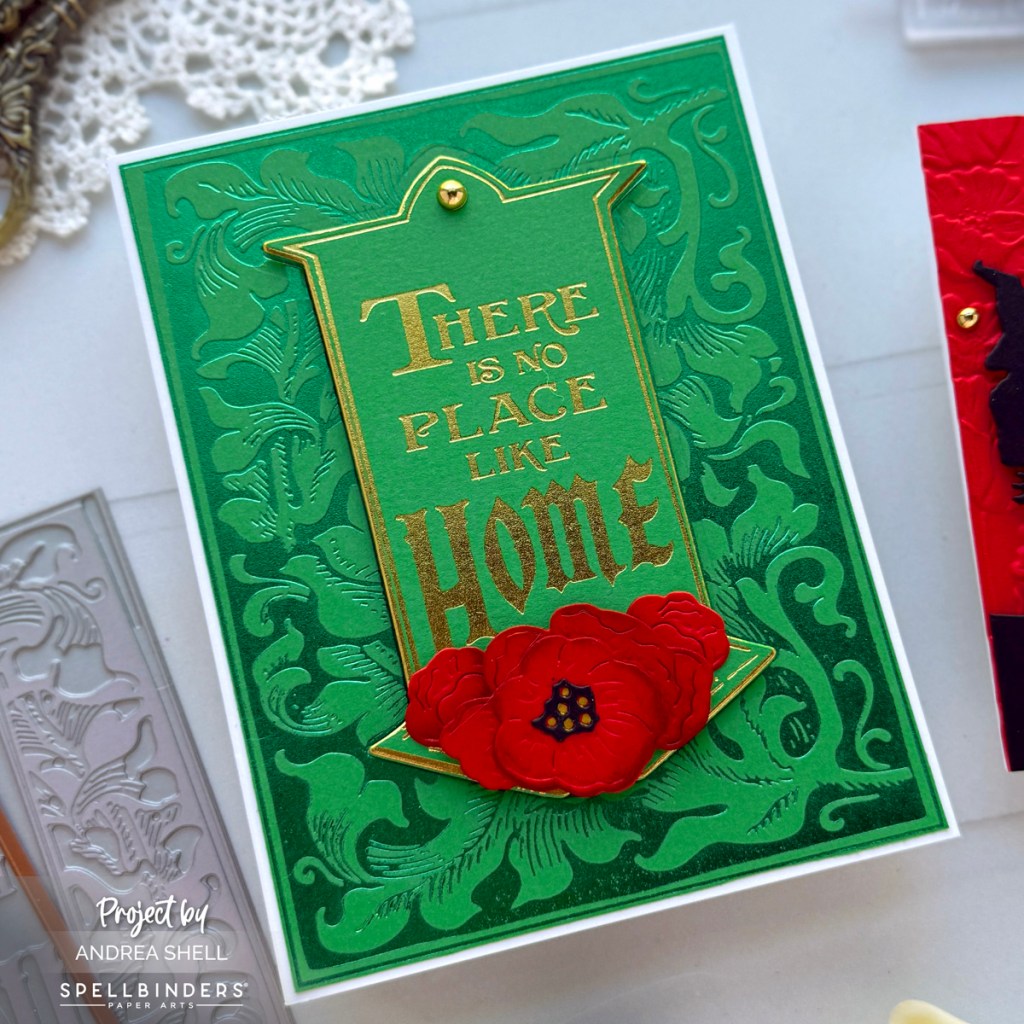
To create my background, I diecut navy cardstock with the largest die from the Emerald Cut Labels and Tag Dies. After adhering the diecut to a white cardbase, I trimmed the corners of the card with my scissors. I flicked gold paint over my background and allowed it to dry.
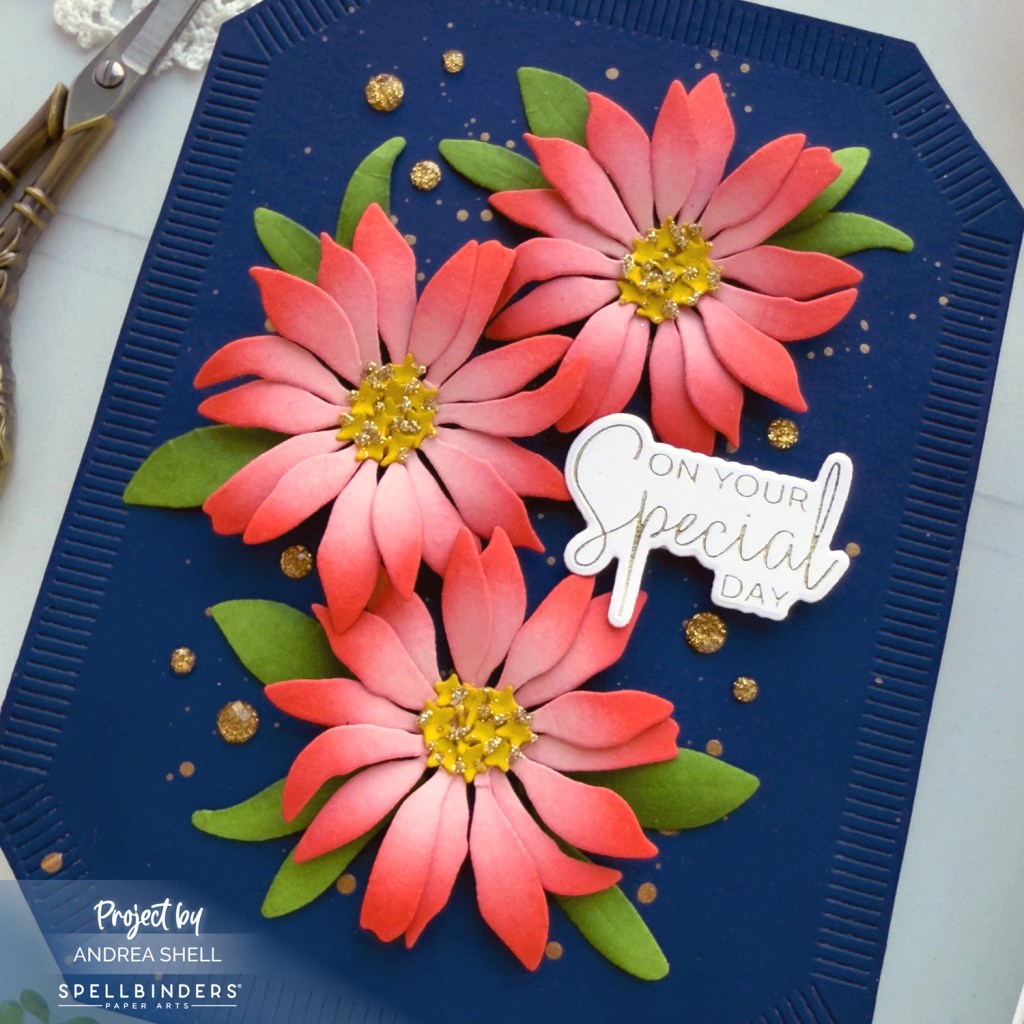
I adhered my blooms with thin 3D foam squares and tucked the leaves under the flowers. For my sentiment I hot-foiled a phrase from the A Little Message Sentiments BetterPress Plates with Champagne Glimmer Foil and cut it out with the companion die. I popped up my sentiment with foam and finished with a scattering of gold glitter dots.
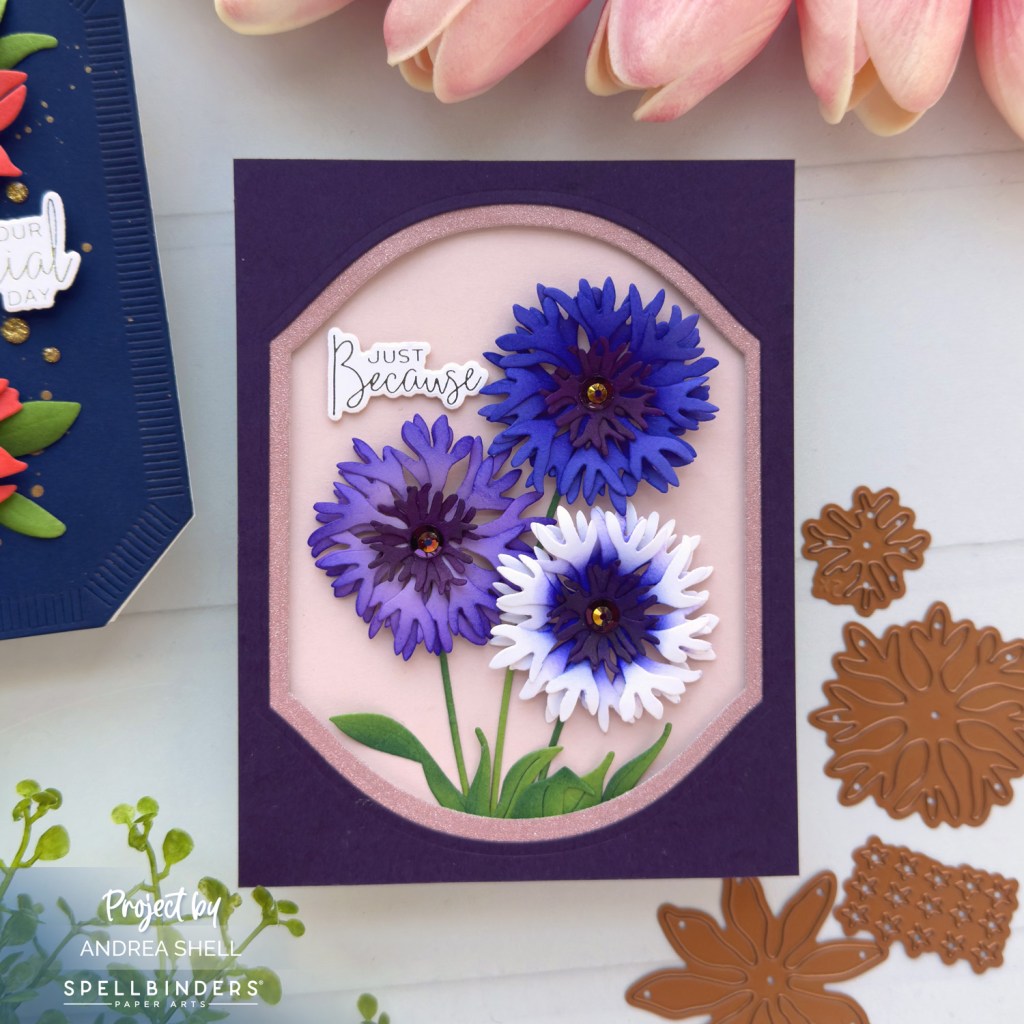
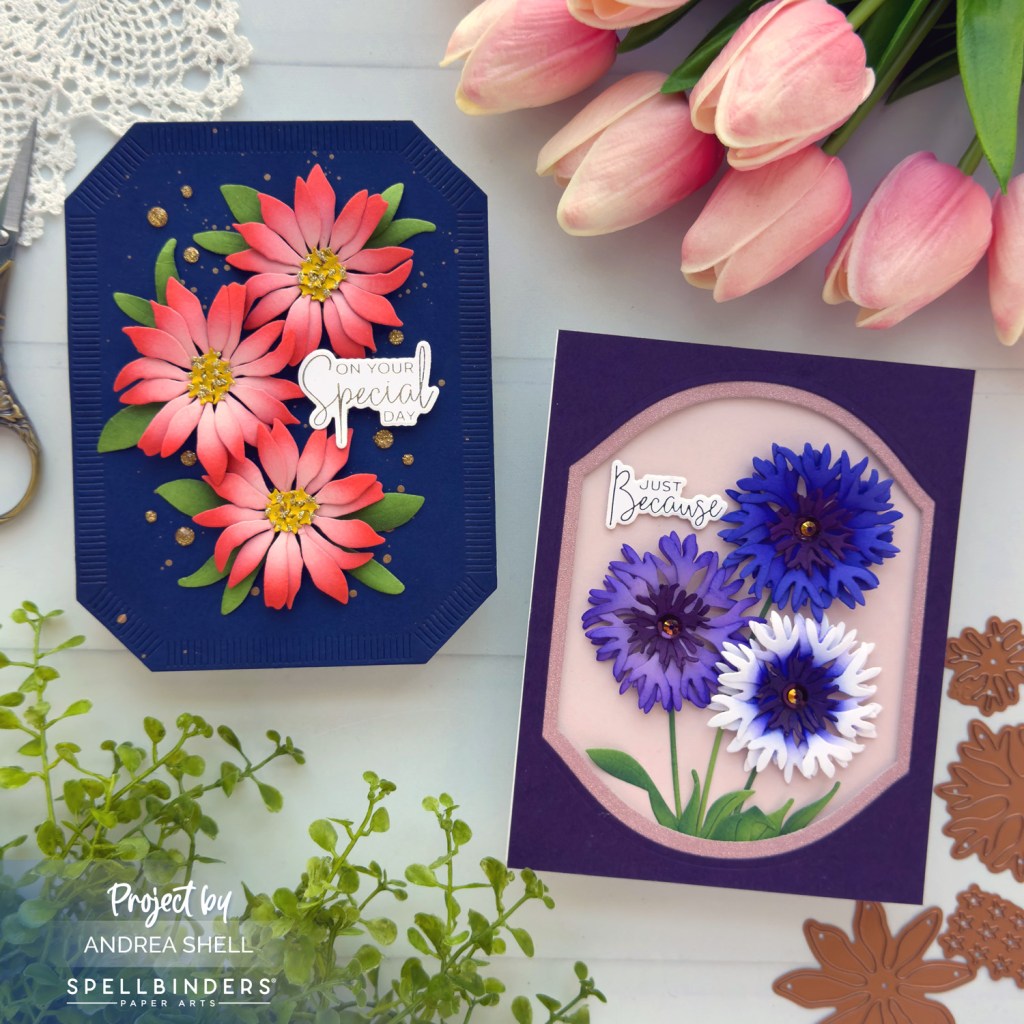
My second card features the Bachelor Button Dies. I diecut the blooms from white, lavender and blue cardstocks. I inked up the petals with purple and blue inks and the centers with the same inks, but more saturated. Again, I shaped the elements with a ball stylus and foam pad.
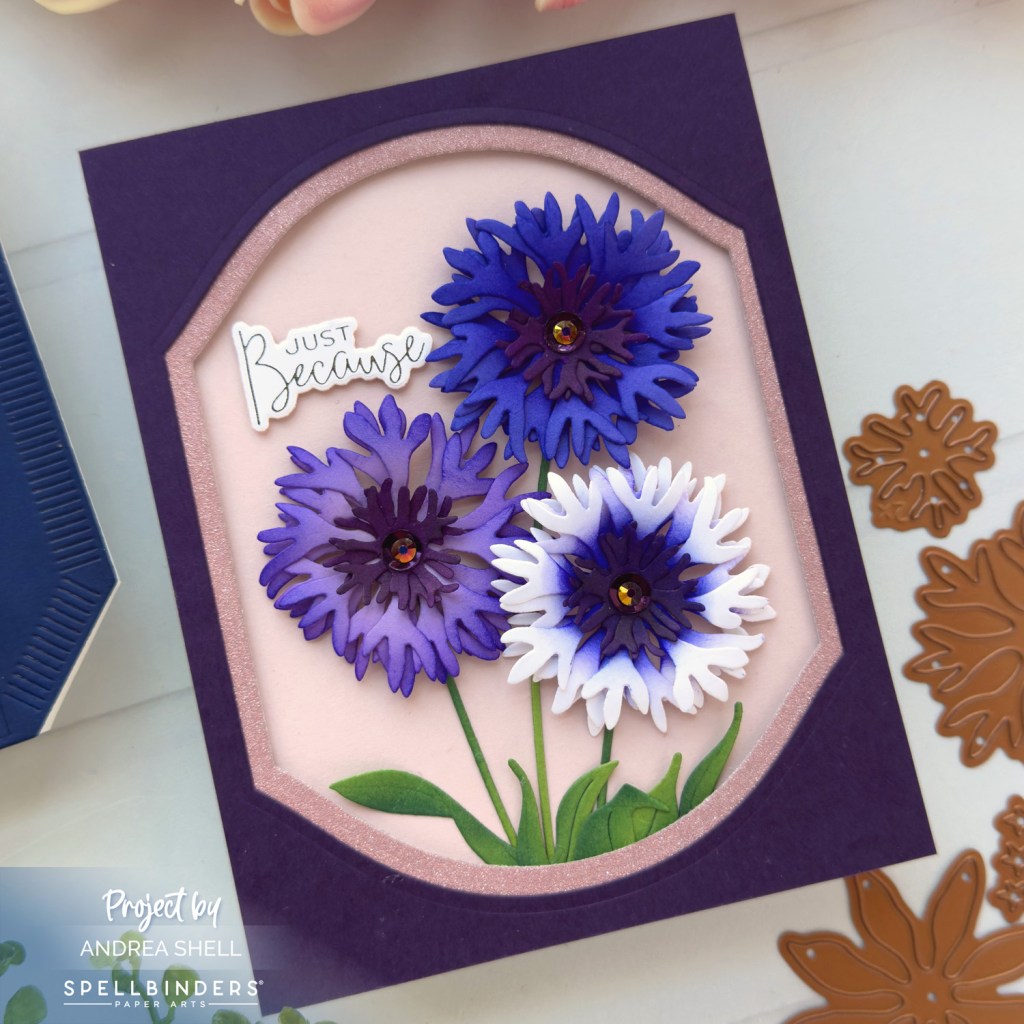
To assemble my blooms, I adhered the petal layers together, offsetting them slightly, and stacked the two centers. In lieu of the stamen the dies create, I stacked a sequin and gem in the centers of my flowers. The stems and foliage are from the Floral Stems Dies.
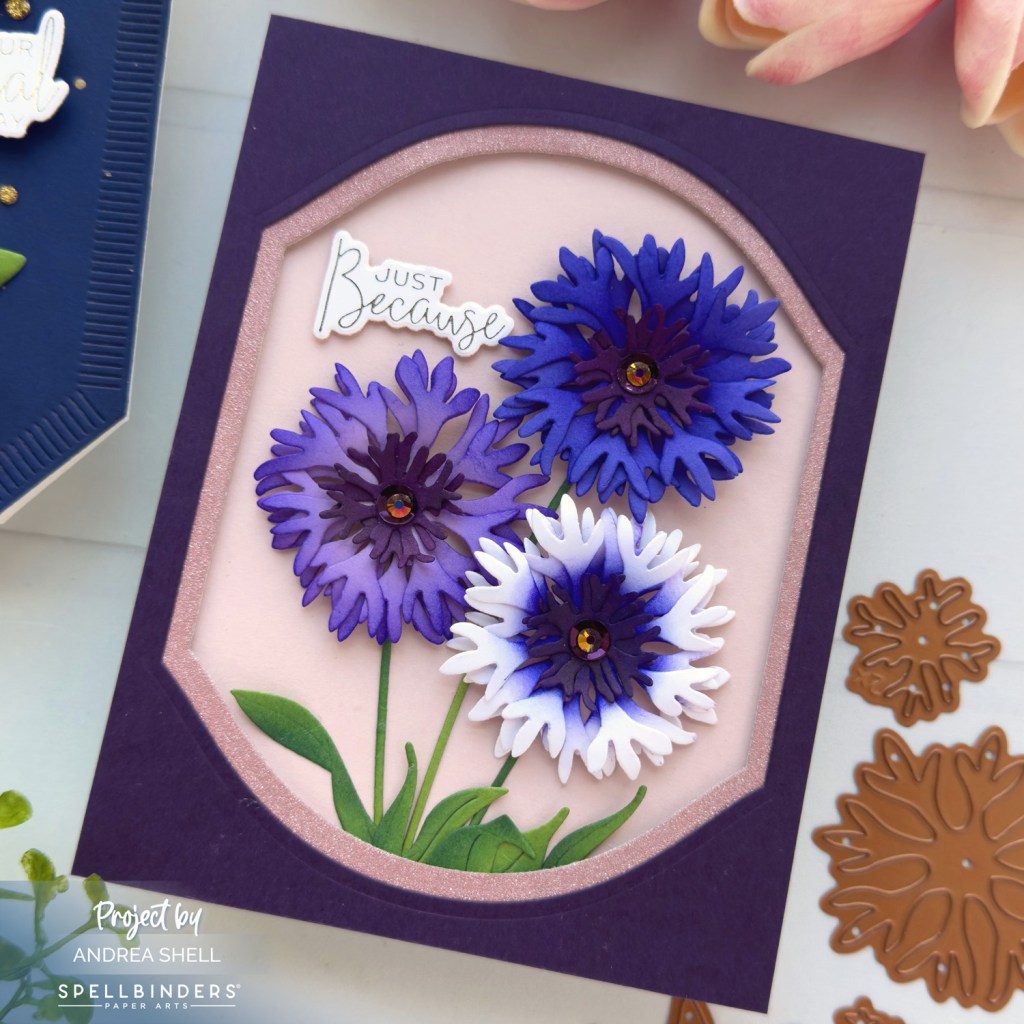
To frame my flowers, I diecut eggplant and glitter cardstocks with the Mirrored Arch Labels Dies. I layered the diecuts together and adhered them with foam to a lilac background, which I attached to a white cardbase.
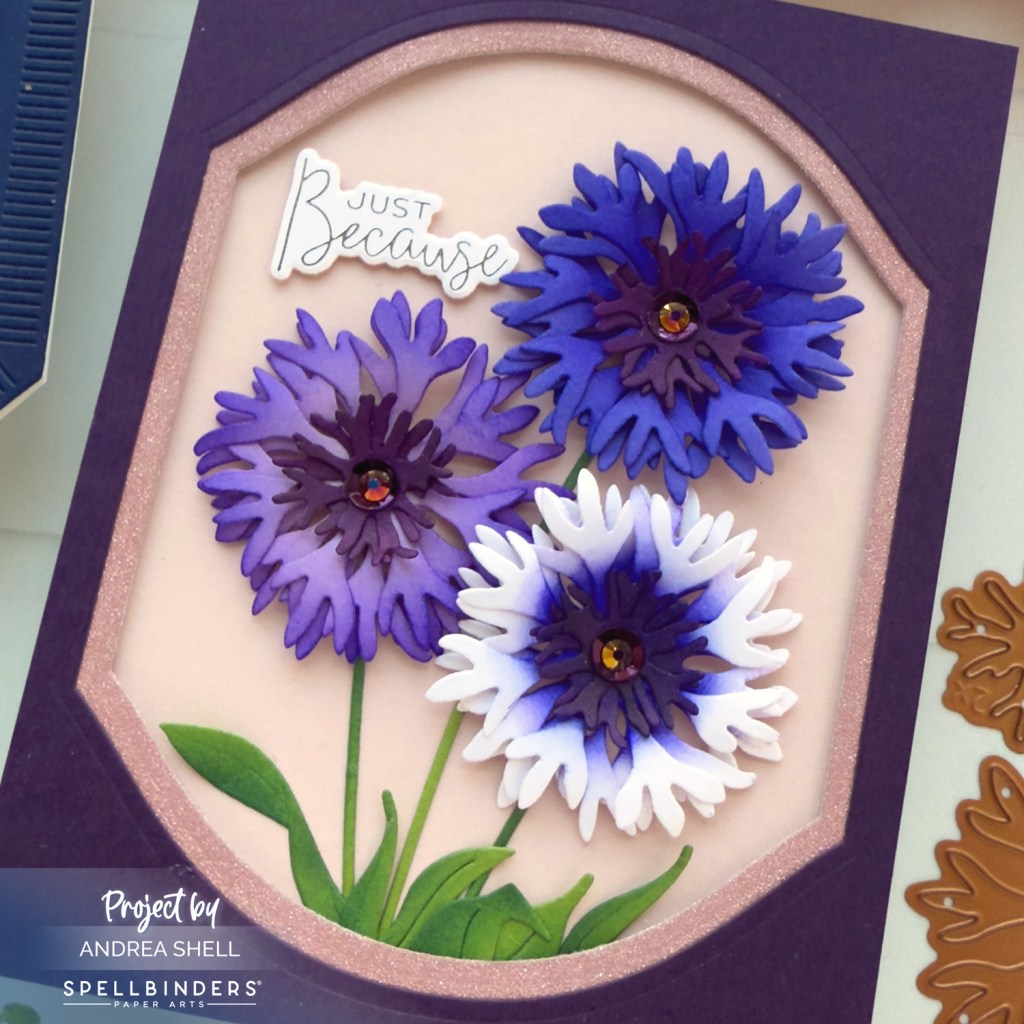
I arranged my flowers and foliage onto my card with liquid adhesive. I finished with another sentiment from A Little Message Sentiments BetterPress Plates, which I foiled with Pewter Glimmer Foil.
Thanks for stopping by!
*Affiliate links used at no cost to you.


Leave a comment