Hello, friends! I’m thrilled to be participating in Waffle Flower Crafts‘ July release, which is all about Christmas! There are lots of fabulous products from layering stencils to die sets to sentiment stamps.
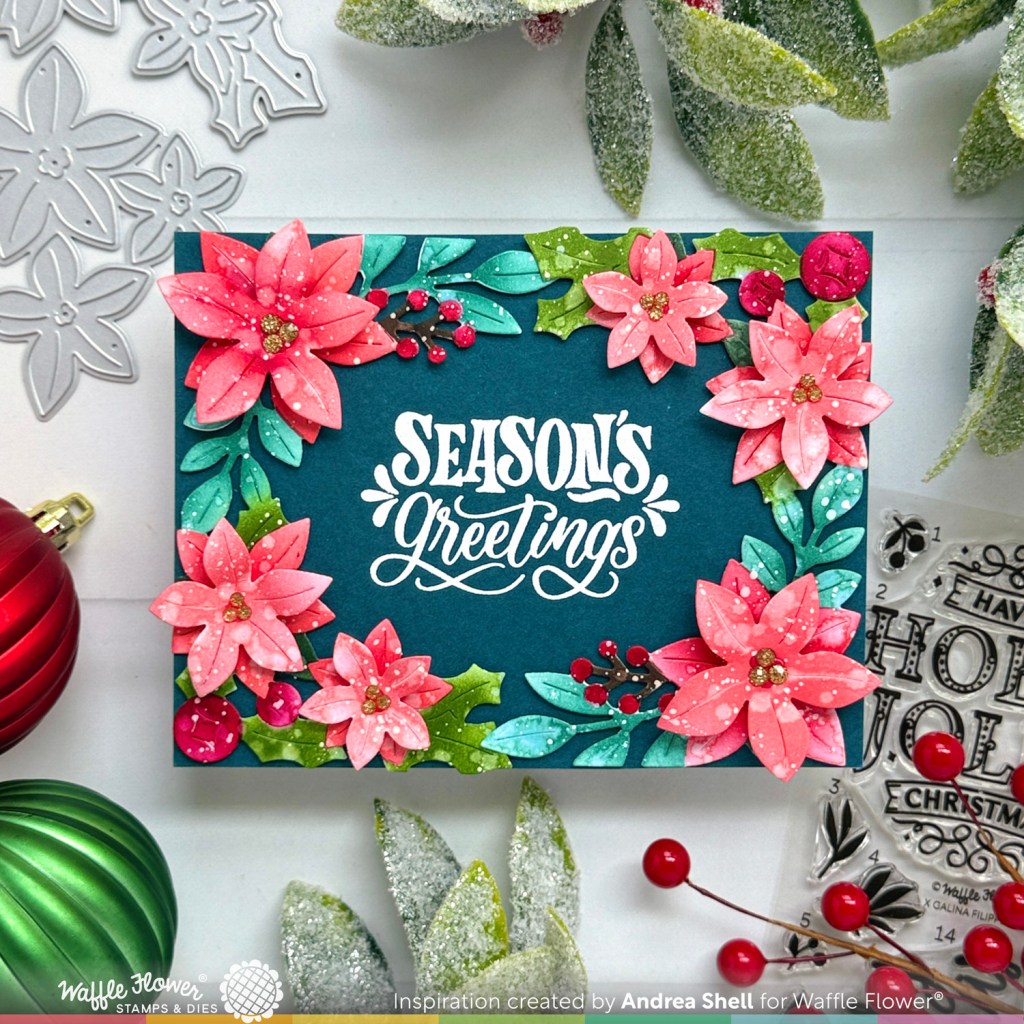
Today, I’m focusing on the gorgeous Poinsettia Frame Die. You can use the main die to create a corner, or you can combine two diecuts to create a frame for an A2 card, as I did above.
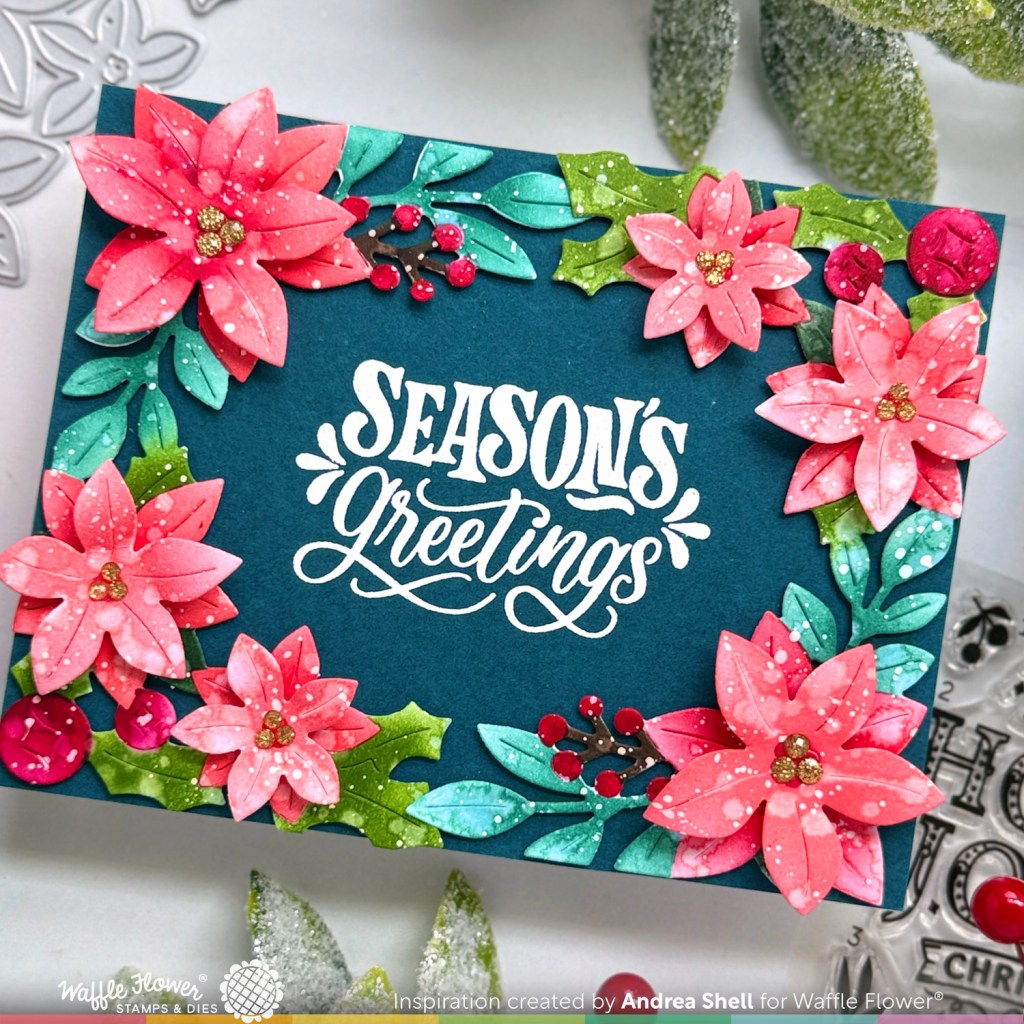
In addition to cutting the frame twice from white cardstock, I also diecut some extra blooms for layering. I used the Poinsettia Frame Coloring Stencil to add color to my diecuts. After ink-blending, I added splatters of water and white paint for a distressed, wintry look.
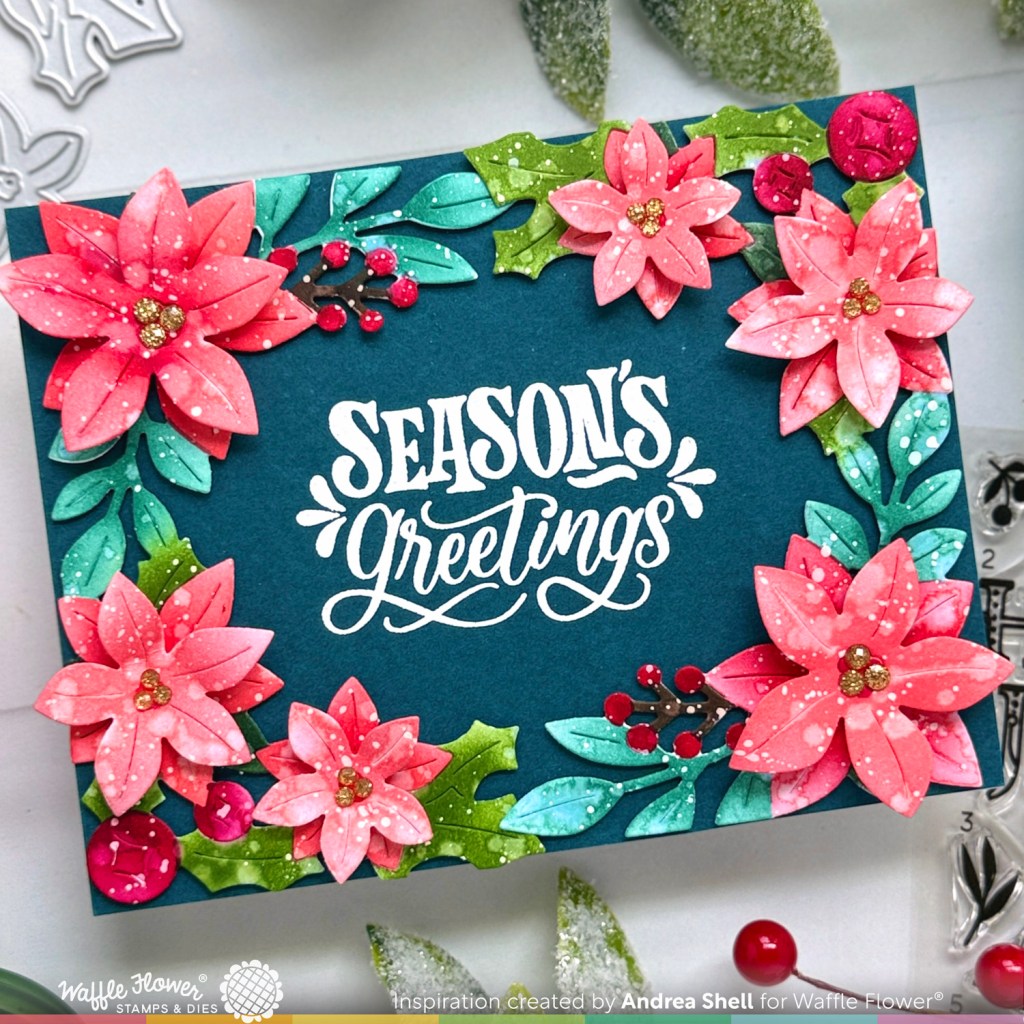
I heat-embossed a sentiment from the Poinsettia Frame Sentiments Stamp Set in the center of a panel of teal cardstock. I arranged the frame diecuts around the edges of the panel, attaching them with thin 3D foam squares.
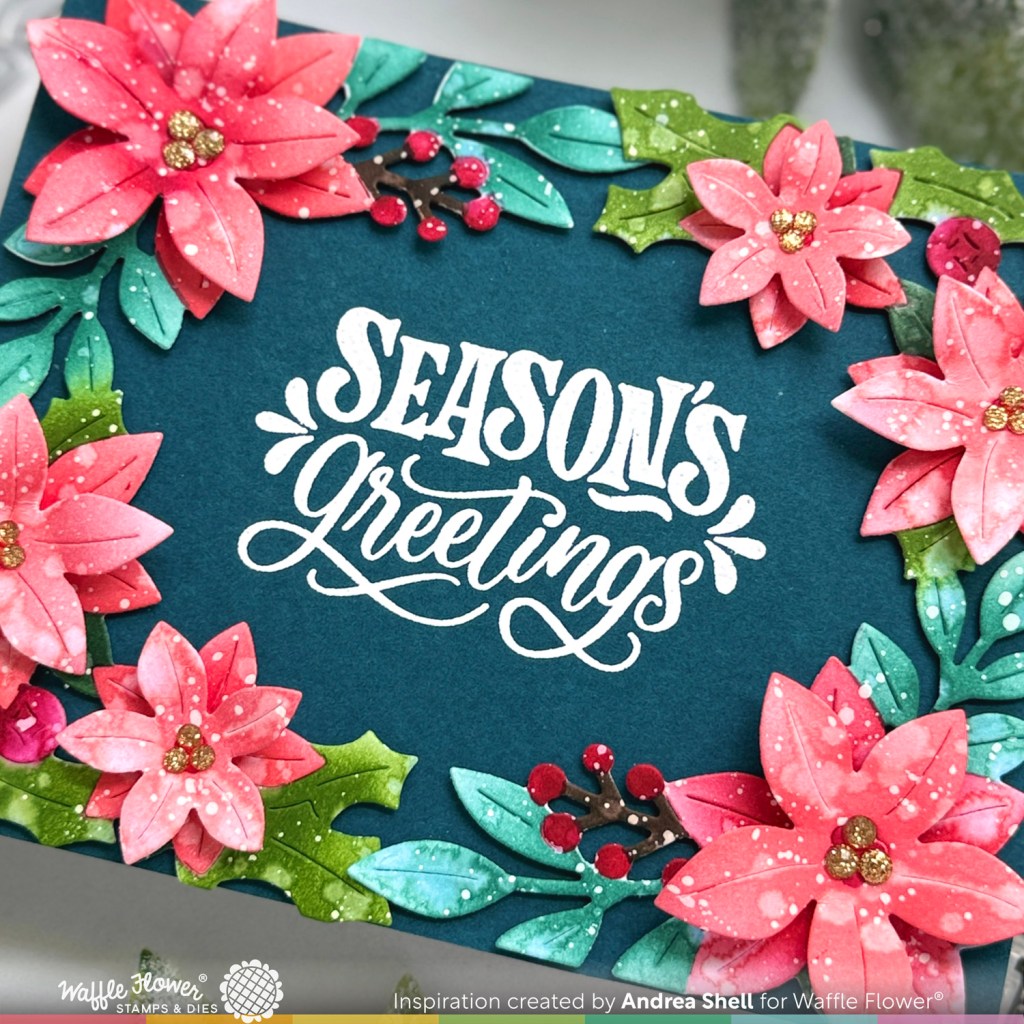
I shaped the extra blooms by bending the petals around the barrel of a paintbrush. I adhered the poinsettias to the frame with foam and glued gold glitter dots to the centers of each.
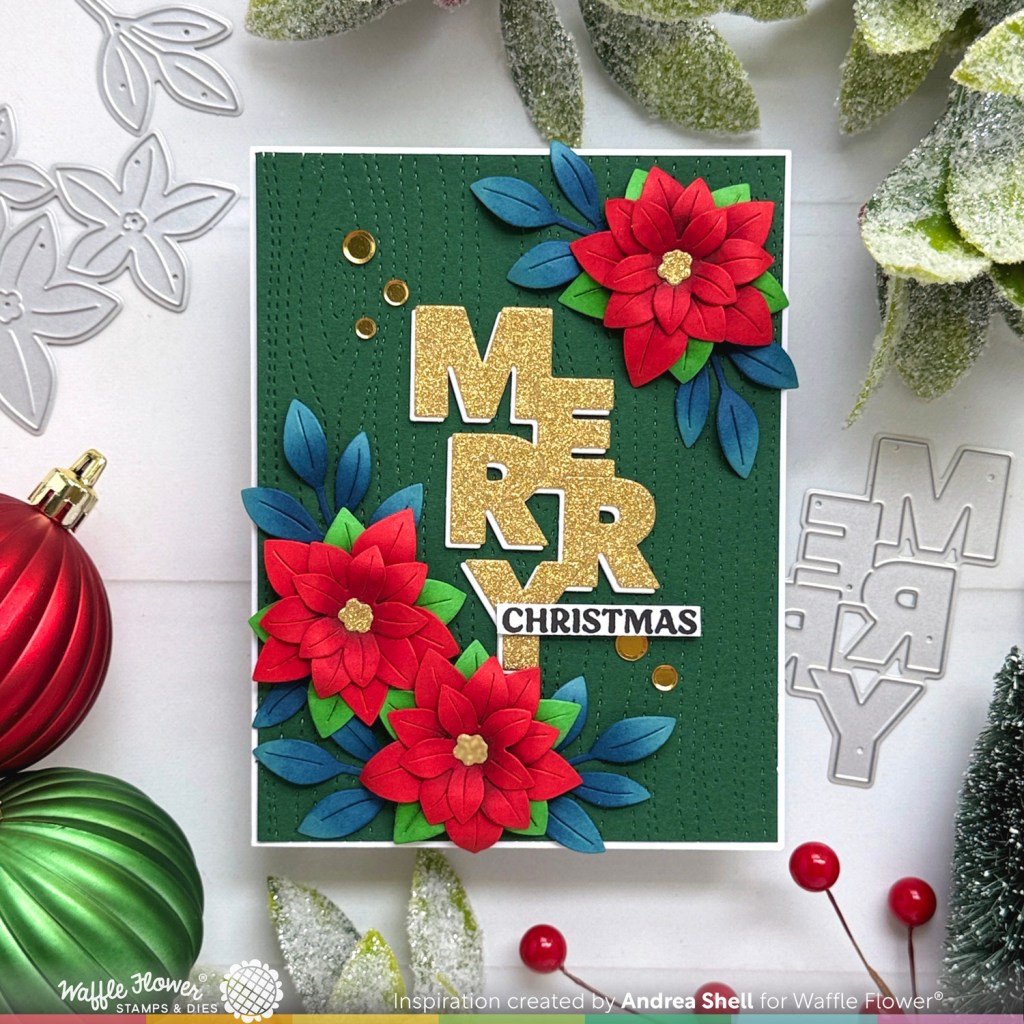
For my second project, I chose to use the standalone poinsettia and foliage dies rather than the frame die from the Poinsettia Frame Die. I diecut the pieces from colored cardstocks and blended each layer with coordinating ink. Again, to create dimension I shaped the diecuts around the barrel of a paintbrush before assembling the layers.
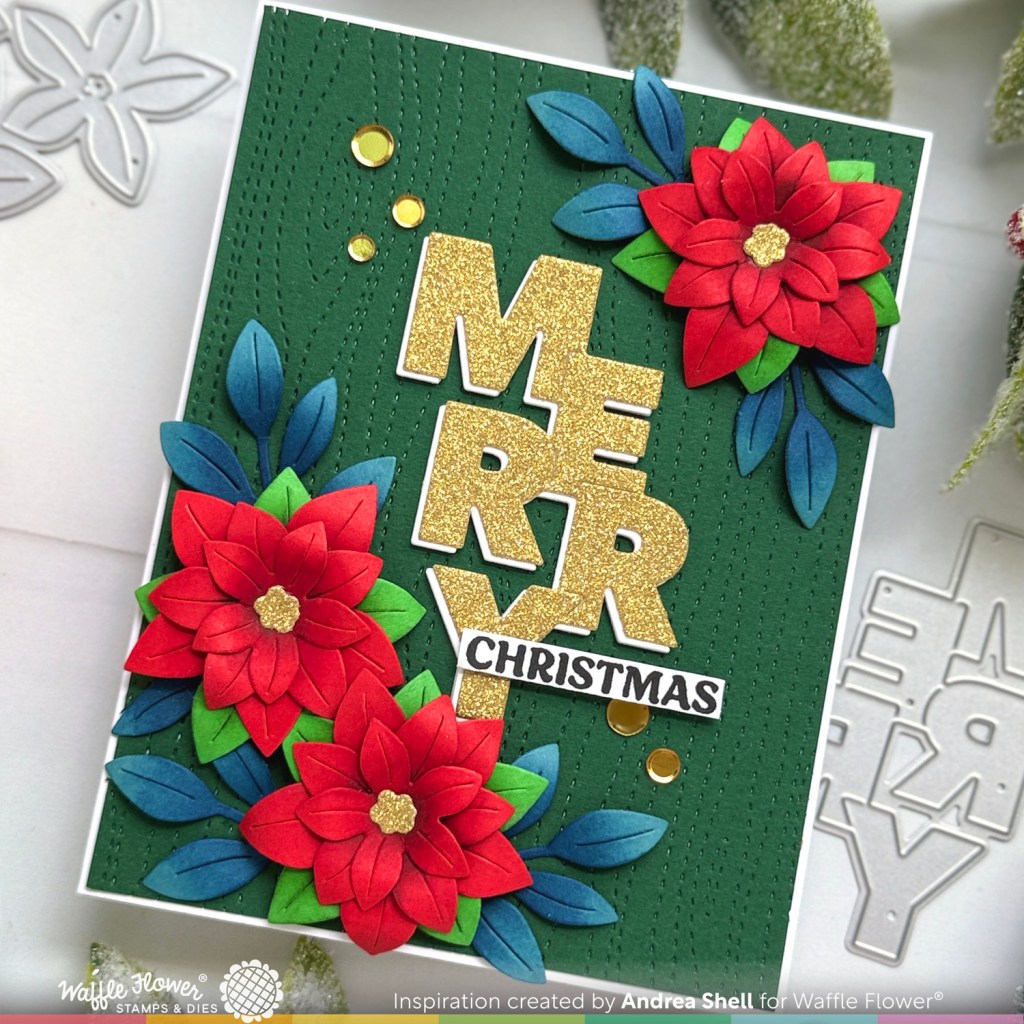
I created that fabulous textured background with the Woodgrain Texture Die. I diecut dark green cardstock with the die, trimmed down the panel, and adhered it to a white card.
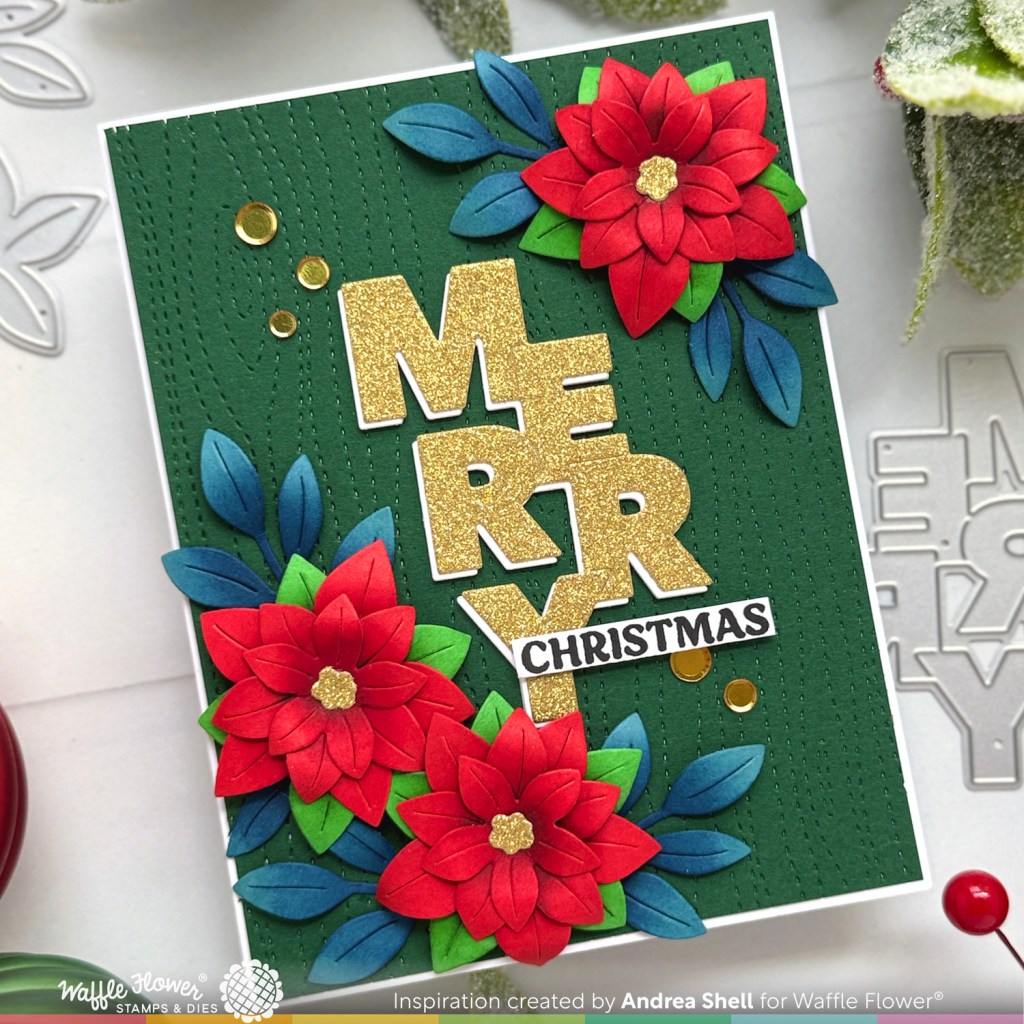
To create my sentiment, I diecut the Overlapping Vertical Merry Word Die once from gold glitter cardstock and four times from white cardstock. I stacked the white diecuts and offset the glitter one to create a highlight. For a sub-sentiment, I used the Warm Wishes Stamp Set and masked the stamp to get the word “Christmas” by itself. I trimmed down the word and adhered it with foam.
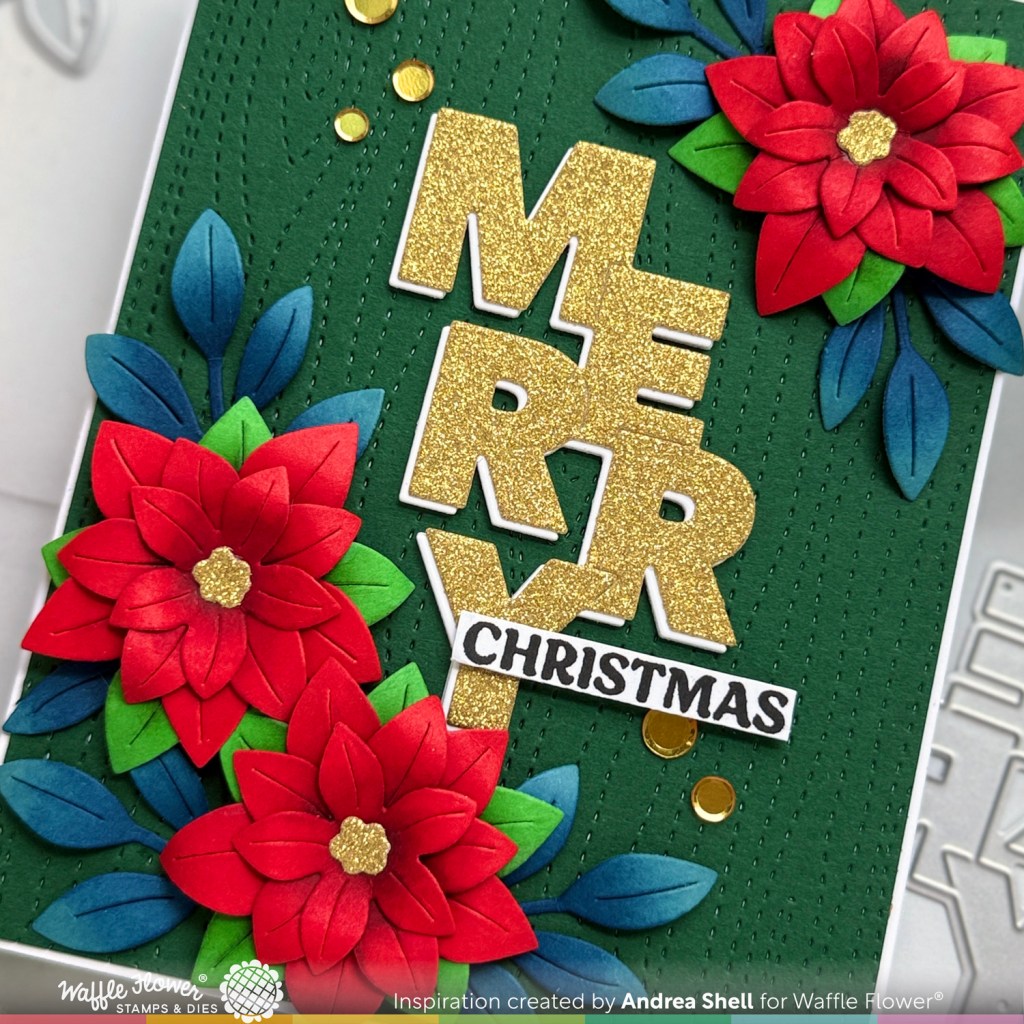
I arranged my poinsettias and foliage onto my card, popping up the poinsettias with foam and tucking the foliage underneath them. I finished the card with a scattering of gold confetti.
Thanks for stopping by!


Leave a comment