Hello, again! Today I’m sharing a spooky shadow box created with products from Whimsy Stamps. I had so much fun creating this, and I hope it inspires you!

To create the shadow box, I trimmed two panels of black cardstock to 5 1/8″ x 6 3/8″ and diecut one with the Wonky Stitched Rectangles Dies. Next, I cut two strips of black cardstock measuring 1″ x 6 7/8″ and scored them lengthwise at 1/4″ and one of the ends at 1/2″. I cut two more strips measuring 1″ x 5 5/8″ and scored them lengthwise at 1/4″ and one of the ends at 1/2″. I assembled the strips to create a frame, trimming the tabs as necessary, and sandwiched them between the two panels.
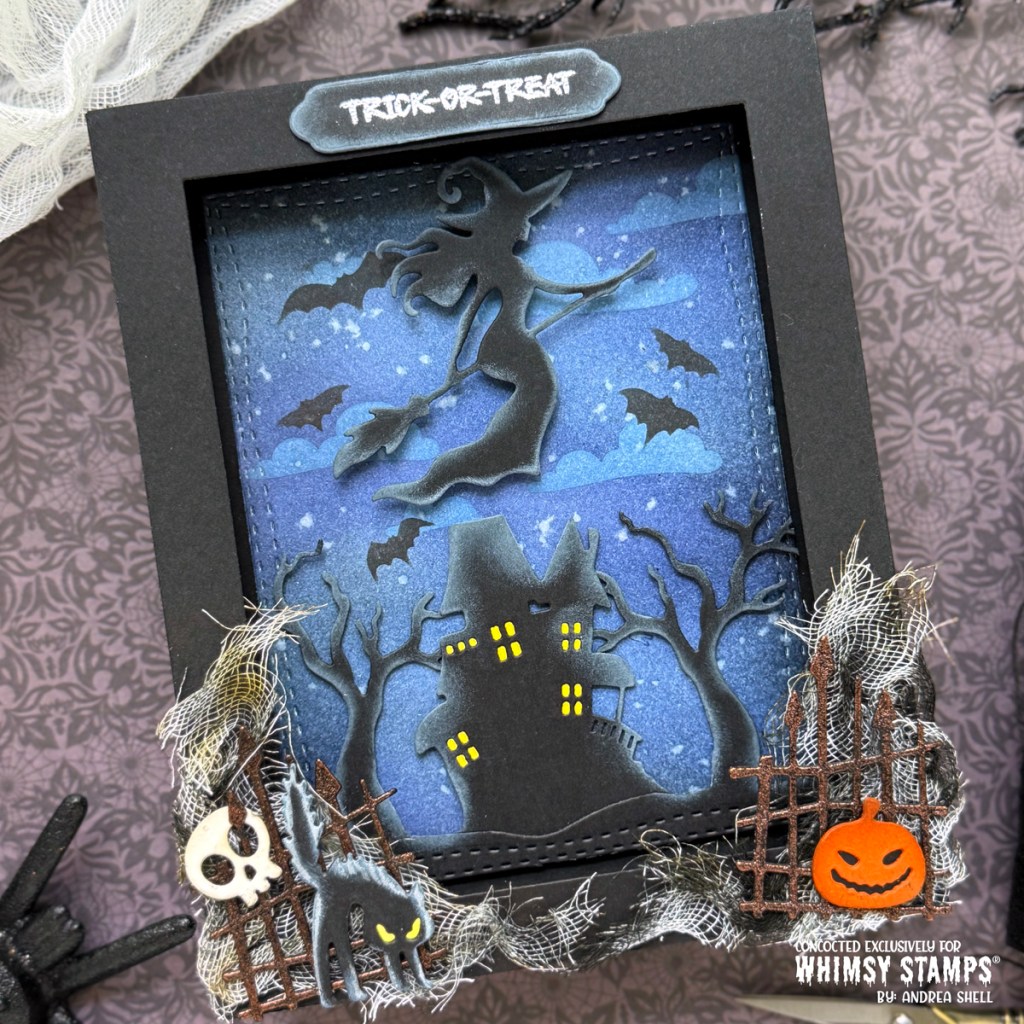
Then it was time for the fun part! I diecut a panel of Bristol paper with the same die from the Wonky Stitched Rectangles Dies and blended it with the following colors of distress ink: Stormy Sky, Faded Jeans, Chipped Sapphire and Black Soot. I splattered the panel with water and then added the clouds by blending white pigment ink through the It’s Cloudy Stencil. For the bats I applied black pigment ink through the Halloween Creatures Stencil.
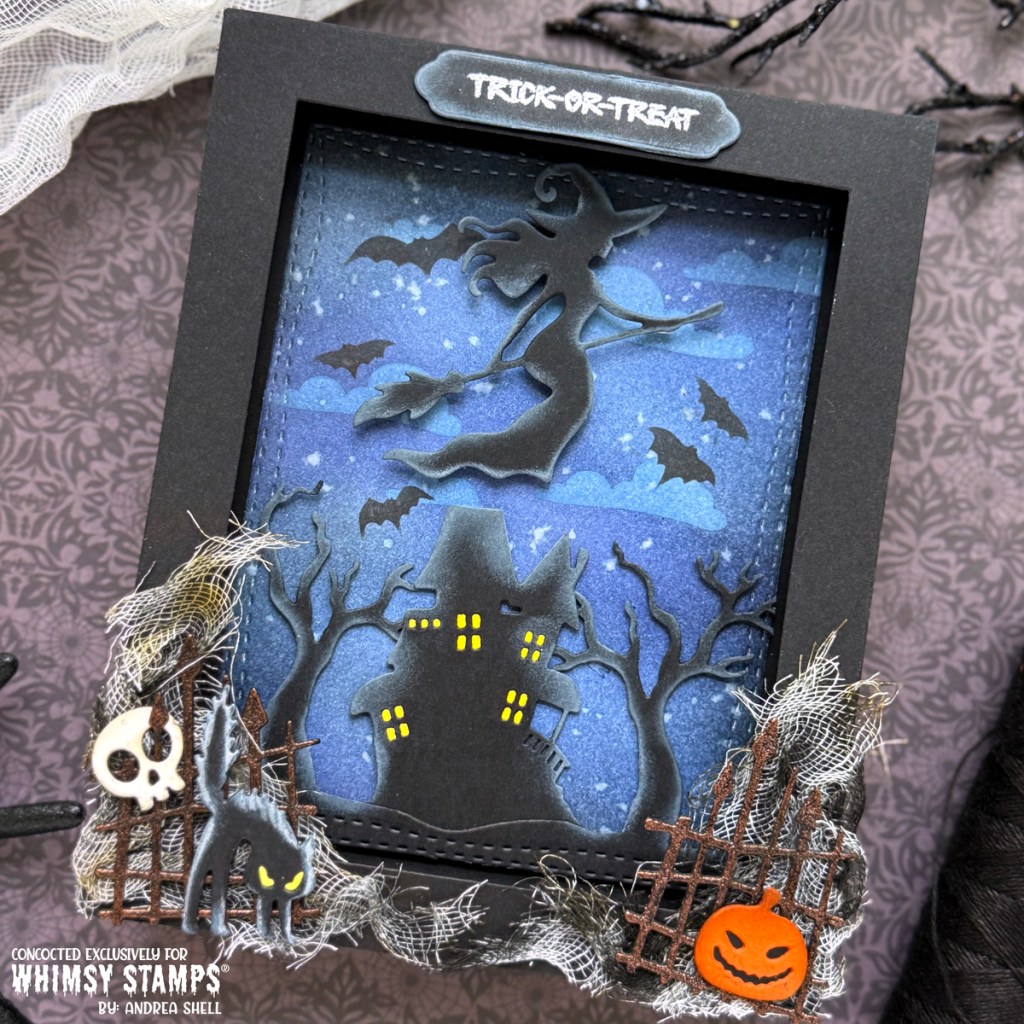
To create my scene, I first diecut the Haunted Graveyard Border Die from black cardstock and trimmed it apart. I diecut the tree section of the border with the rectangle die so that the edges matched those of the background. I backed the house with yellow cardstock, glued it behind the trees and sponged the edges of the diecuts with white pigment ink. I adhered the layered diecut to my background with thin 3D foam squares and attached the background inside the box.
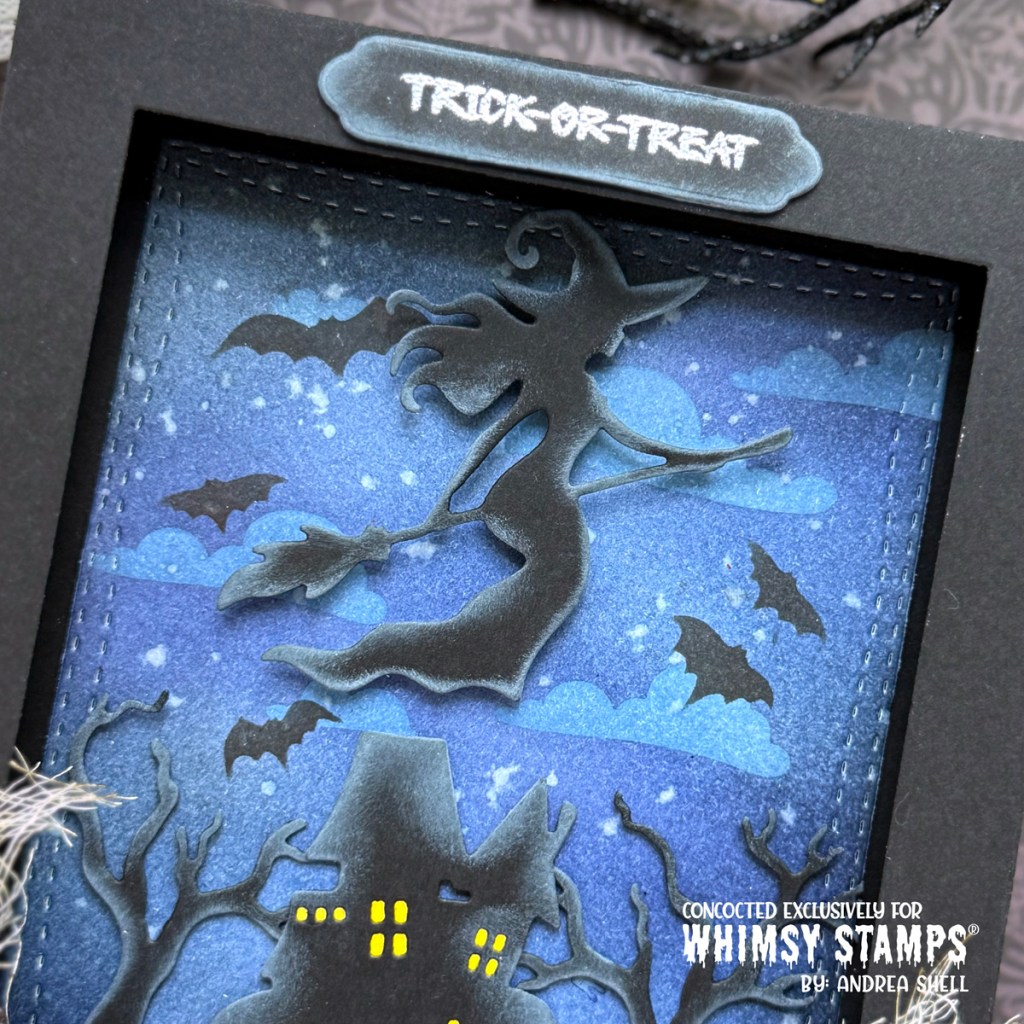
I diecut the witch from black cardstock with the Witch Whispers Sister Dies. I sponged white ink on the edges and affixed the diecut with two layers of foam. I heat-embossed a sentiment from the Trick or Treat House stamp set and diecut it with the Antique ATC Frames Dies. To get the length I wanted for my sentiment, I used the partial diecutting technique. Again, I added white ink to the edges before adding the sentiment with foam.

To decorate the outside of the shadow box, I used the Build-a-Graveyard Dies and Pumpkin and Mini Jacks Dies. I cut each element twice and stacked the diecuts for stability. I heat-embossed the gates with a copper embossing powder and backed the cat and jack-o-lantern with colored cardstocks. I inked up the edges of all the diecuts and layered them onto some cheesecloth I had distressed and glued to the front of the box.
Thanks for stopping by!
*Affiliate links used at no cost to you. As always, you can save 10% on your first order through one of my links with the code BLISSFULLYSCRAPPY.


Leave a comment